Monish Muralidharan
8
min read
Nov 28, 2024
Mettalex Public beta is live! This user guide will help you navigate the platform and explore its features.
This public beta is essential for understanding user perspectives at scale, helping us shape and enhance Mettalex for the future.
Important Note from Team:
The public beta runs on the Dorado testnet, which means no real money or assets are involved. You are welcome to experiment and provide feedback.
This public beta has been released with limited features on the testnet. We will add more features as we go along and the product will include other features as well on the mainnet.
This is an unstable beta version. Occasional glitches and performance issues may arise.
Before exploring Mettalex, you must set up your wallet and connect it to the Dorado testnet. Here's how to prepare your environment:
Download and Install the wallet Extension:
Mettalex supports ASI Wallet and Keplr Wallet for this public beta. For the purpose of this user guide, we will use ASI Wallet as the primary wallet throughout the instructions.
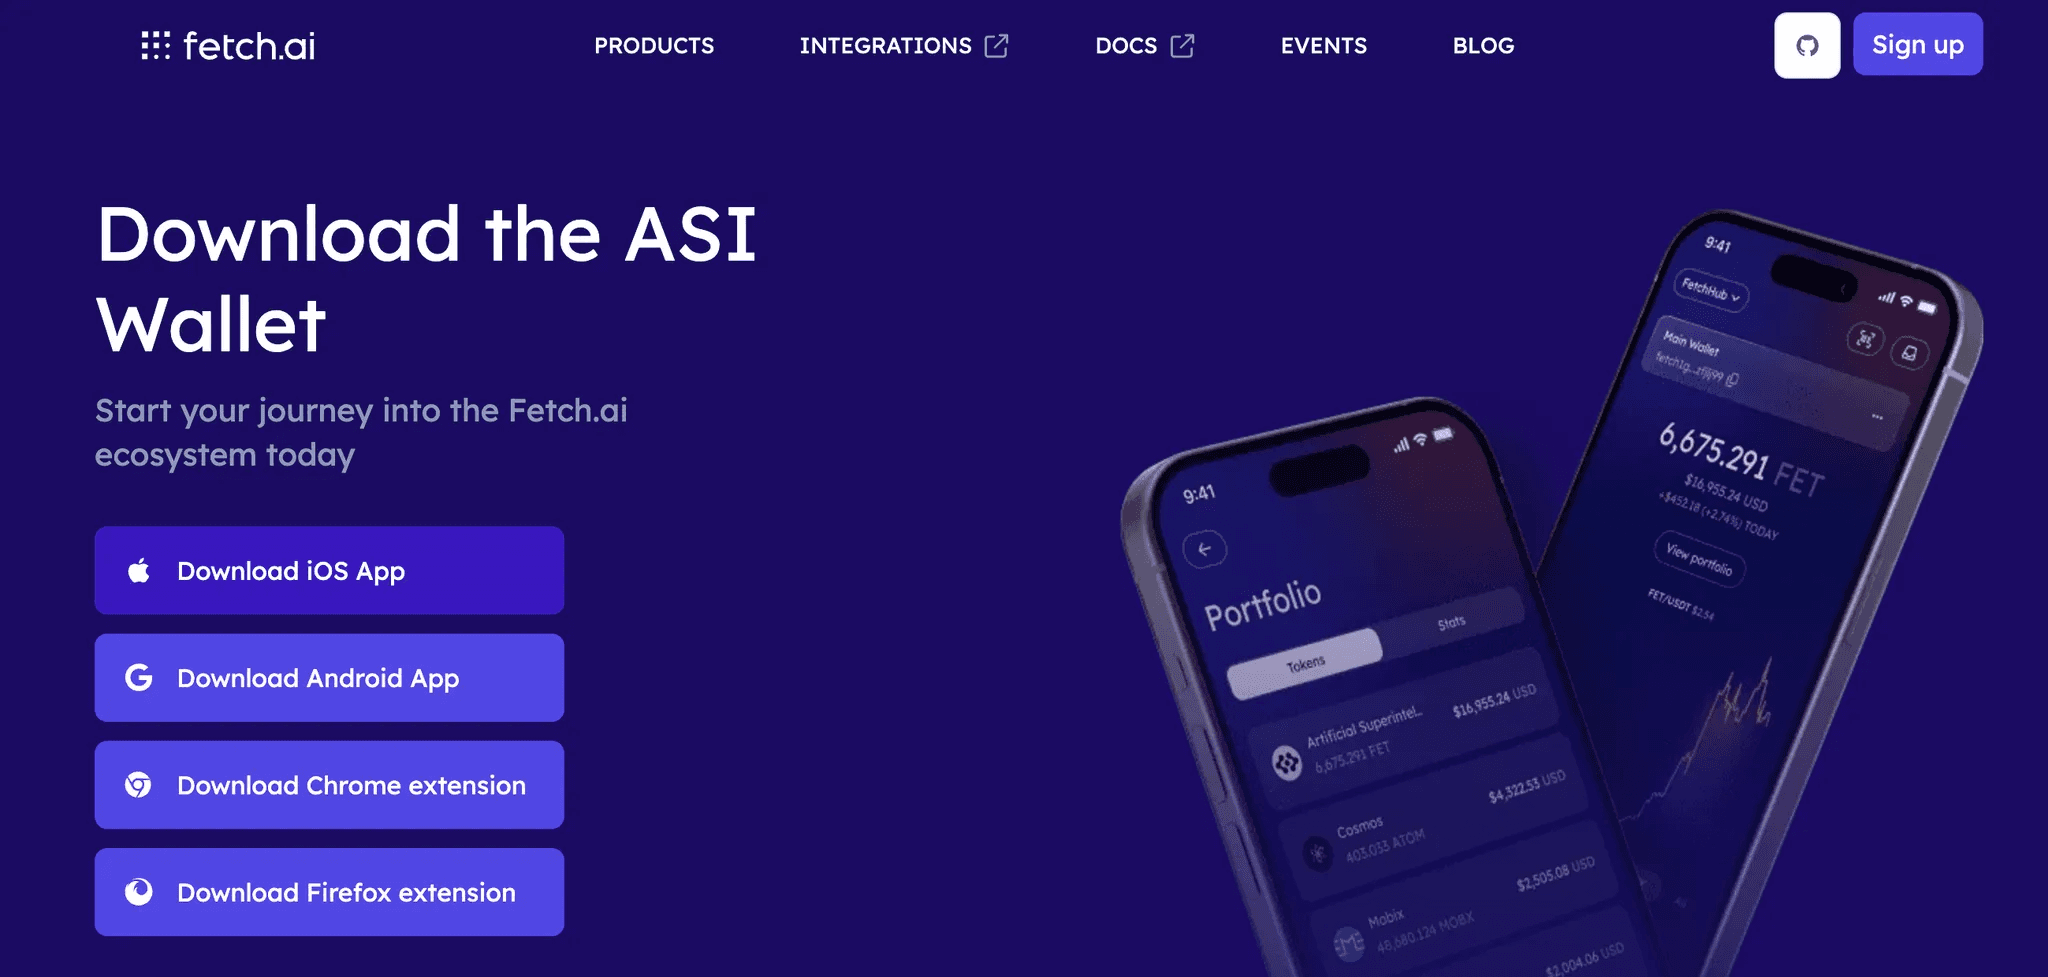
To get started, download and install the ASI Wallet Extension from https://fetch.ai/get-asi-wallet. Click the "Download Chrome Extension" button and follow the installation instructions. After installation, check that the ASI Wallet icon appears in your browser's extension toolbar, and pin it there for easy access.
Setting Up Your Wallet:
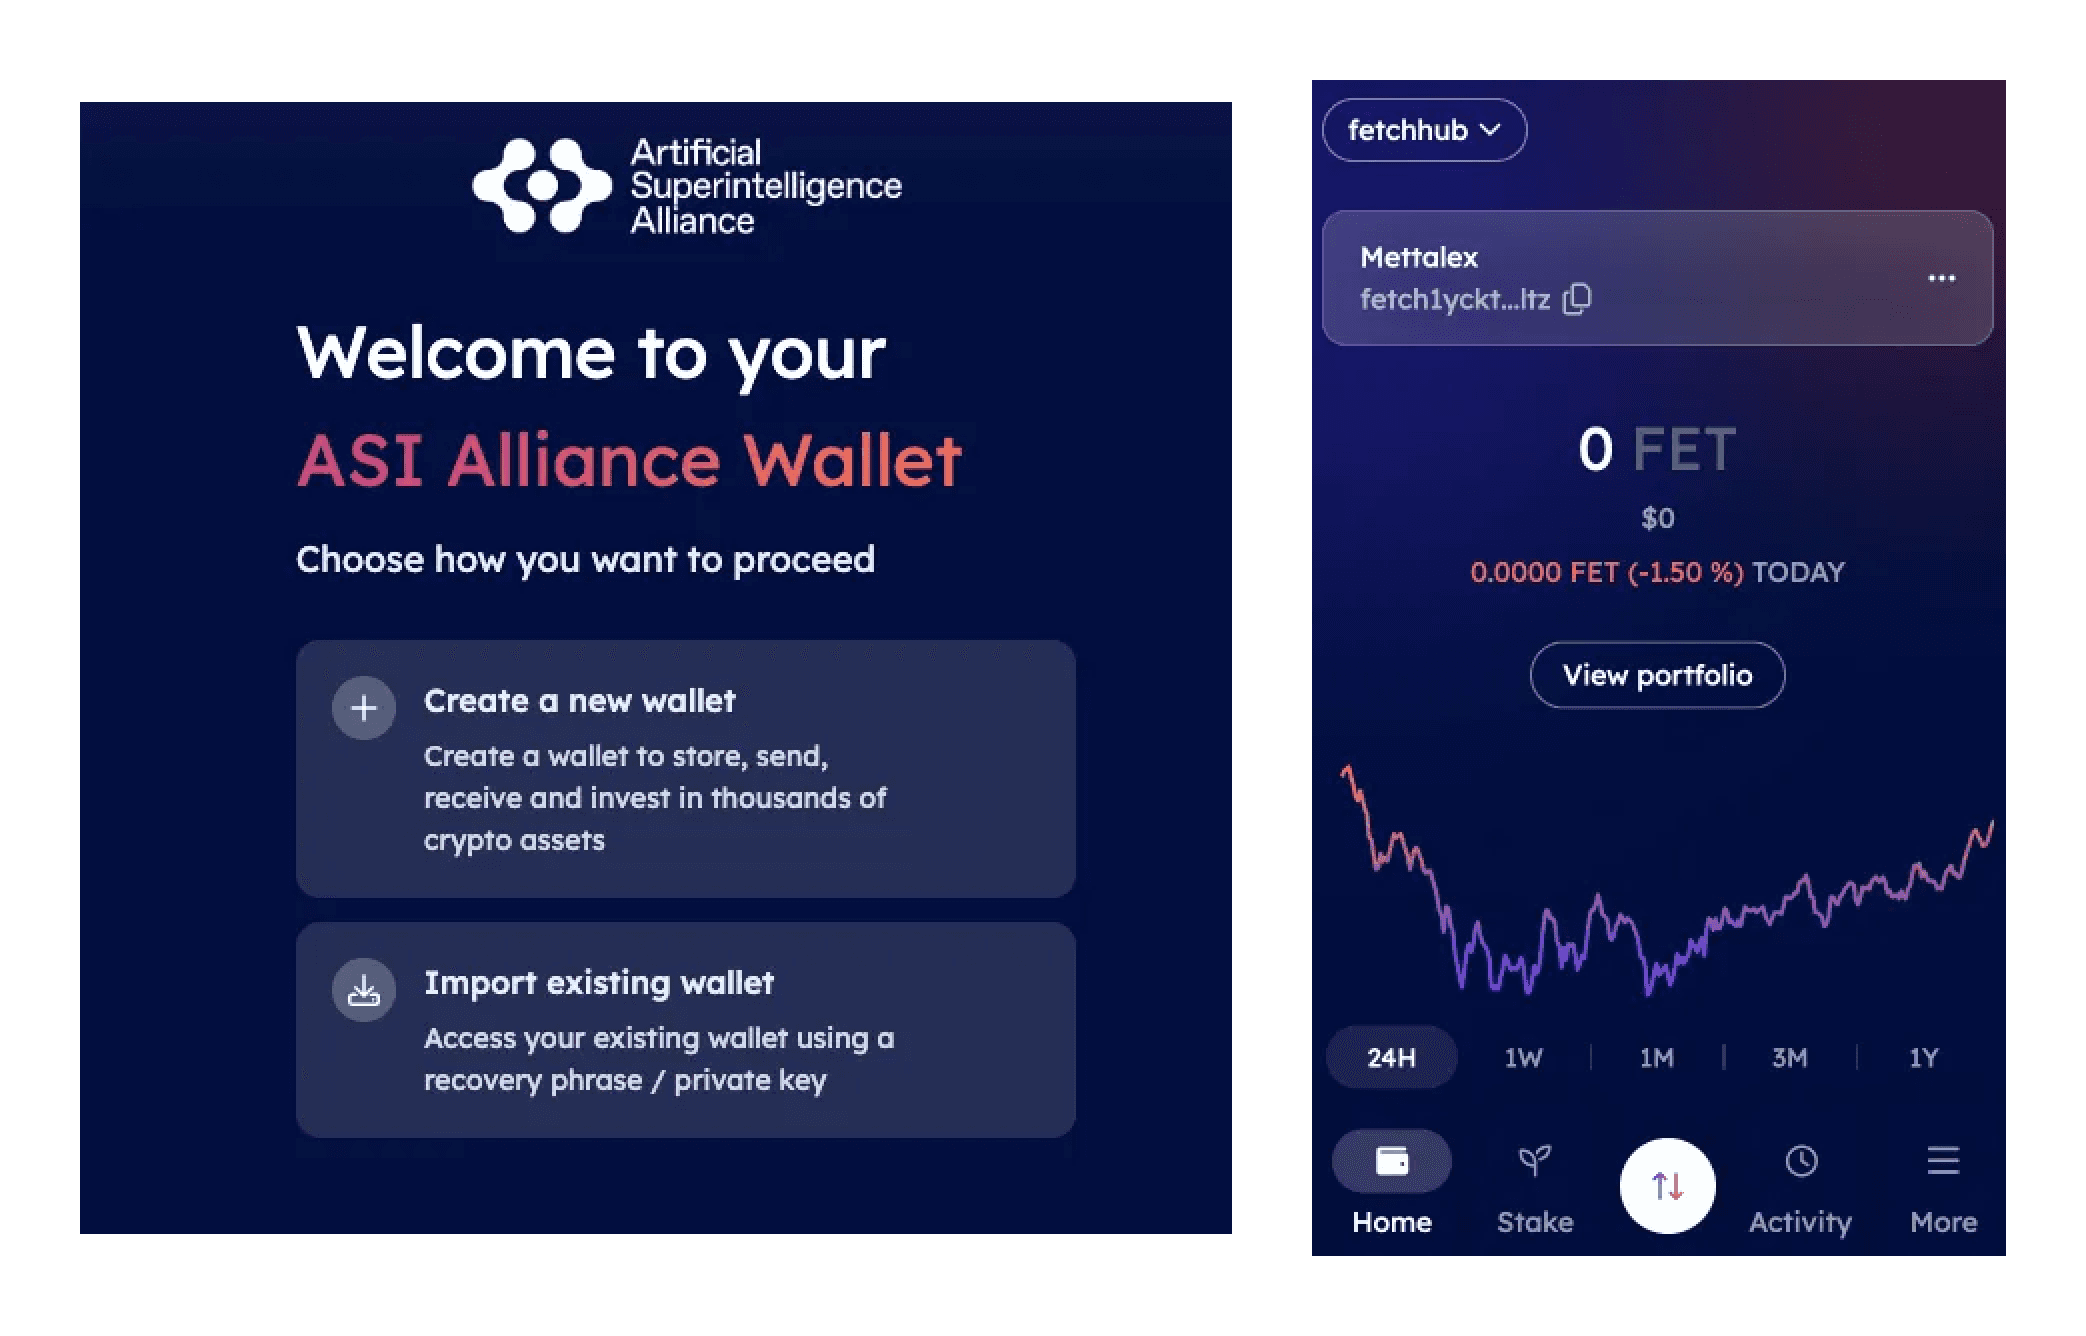
After installing the ASI Wallet extension, set up your wallet by following the on-screen instructions. You can either create a new wallet or restore an existing one using your seed phrase. Ensure you securely store your seed phrase, as it’s essential for accessing your wallet in the future.
Switch to Dorado Testnet:
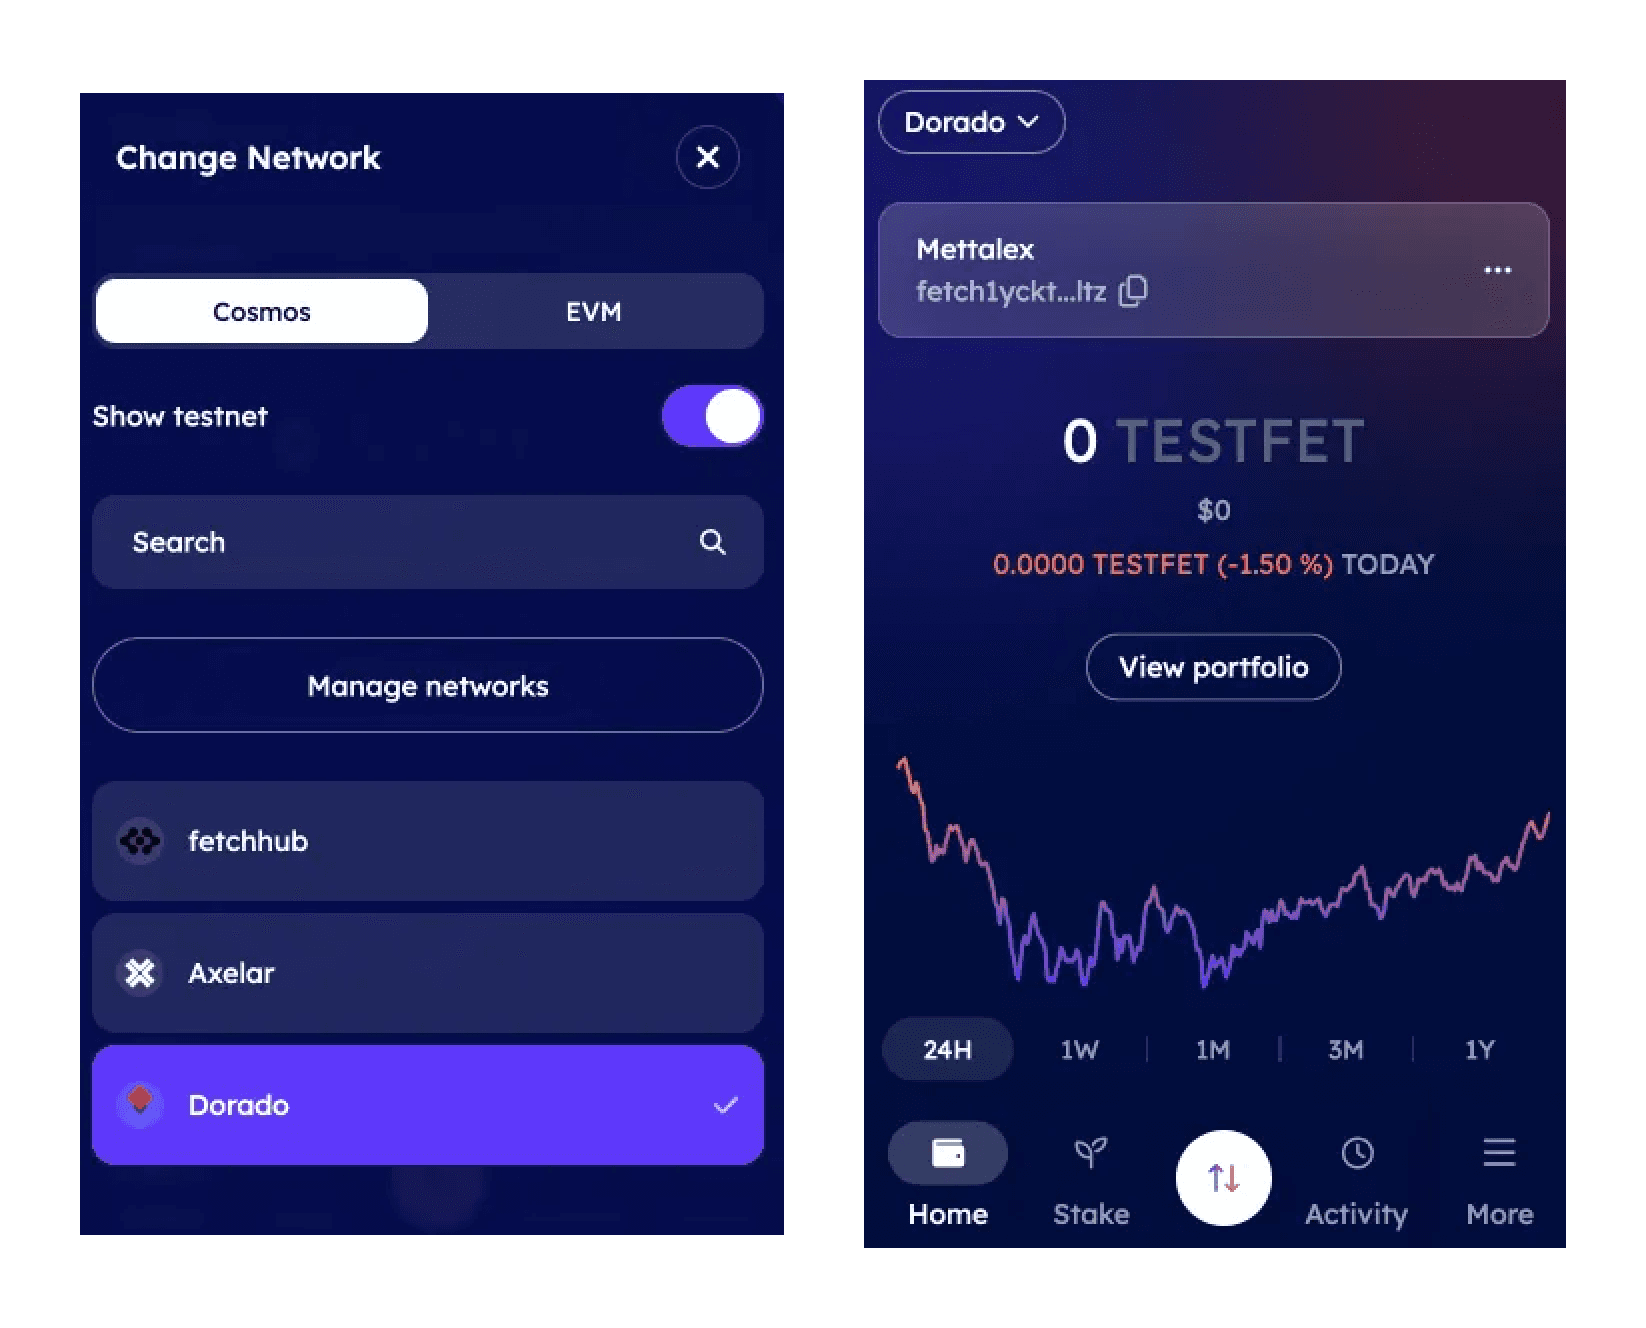
After setting up your wallet, configure it to connect to the Dorado network, as this Public Beta operates on this testnet. To do this, select Fetchhub, enable the Show Testnet option, and click on Manage Network. From the list, select Dorado to establish the connection.
You’re all set! The environment is now ready for you to explore the revolutionary AI agent-based trading platform.
Accessing Mettalex Public Beta
To get started with the Mettalex public beta, follow these steps:
Visit the Platform:
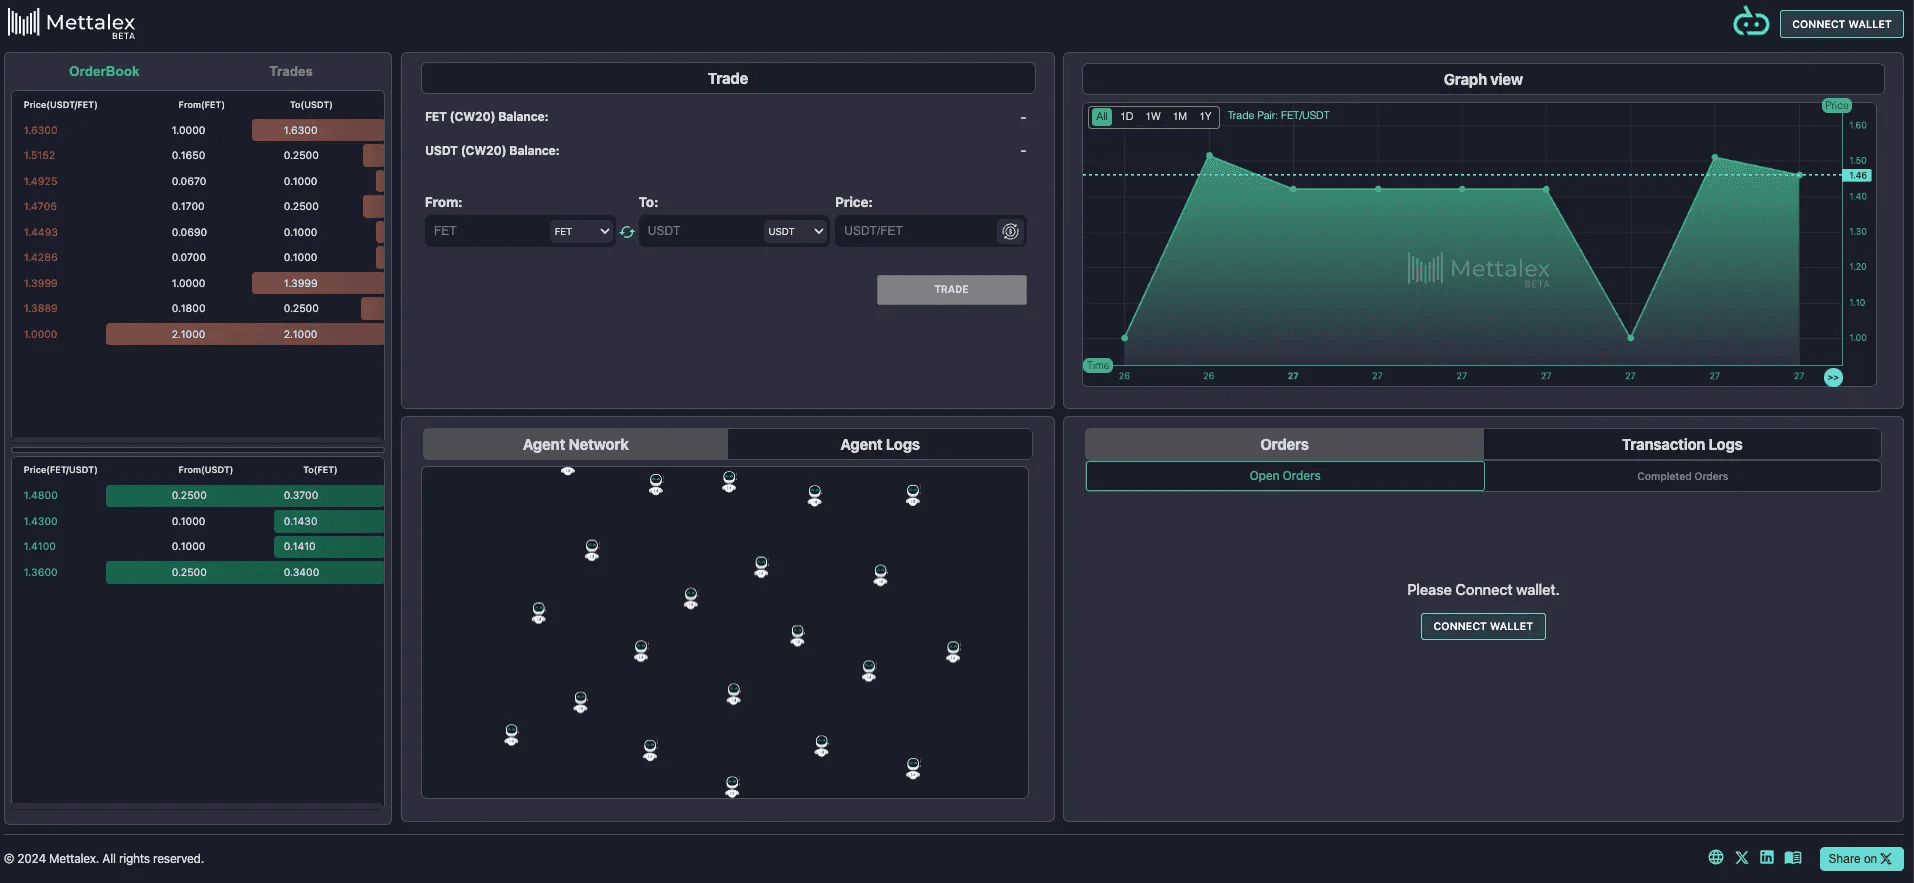
Navigate to beta.mettalex.com to access Mettalex in public beta environment.
Connect ASI Wallet:
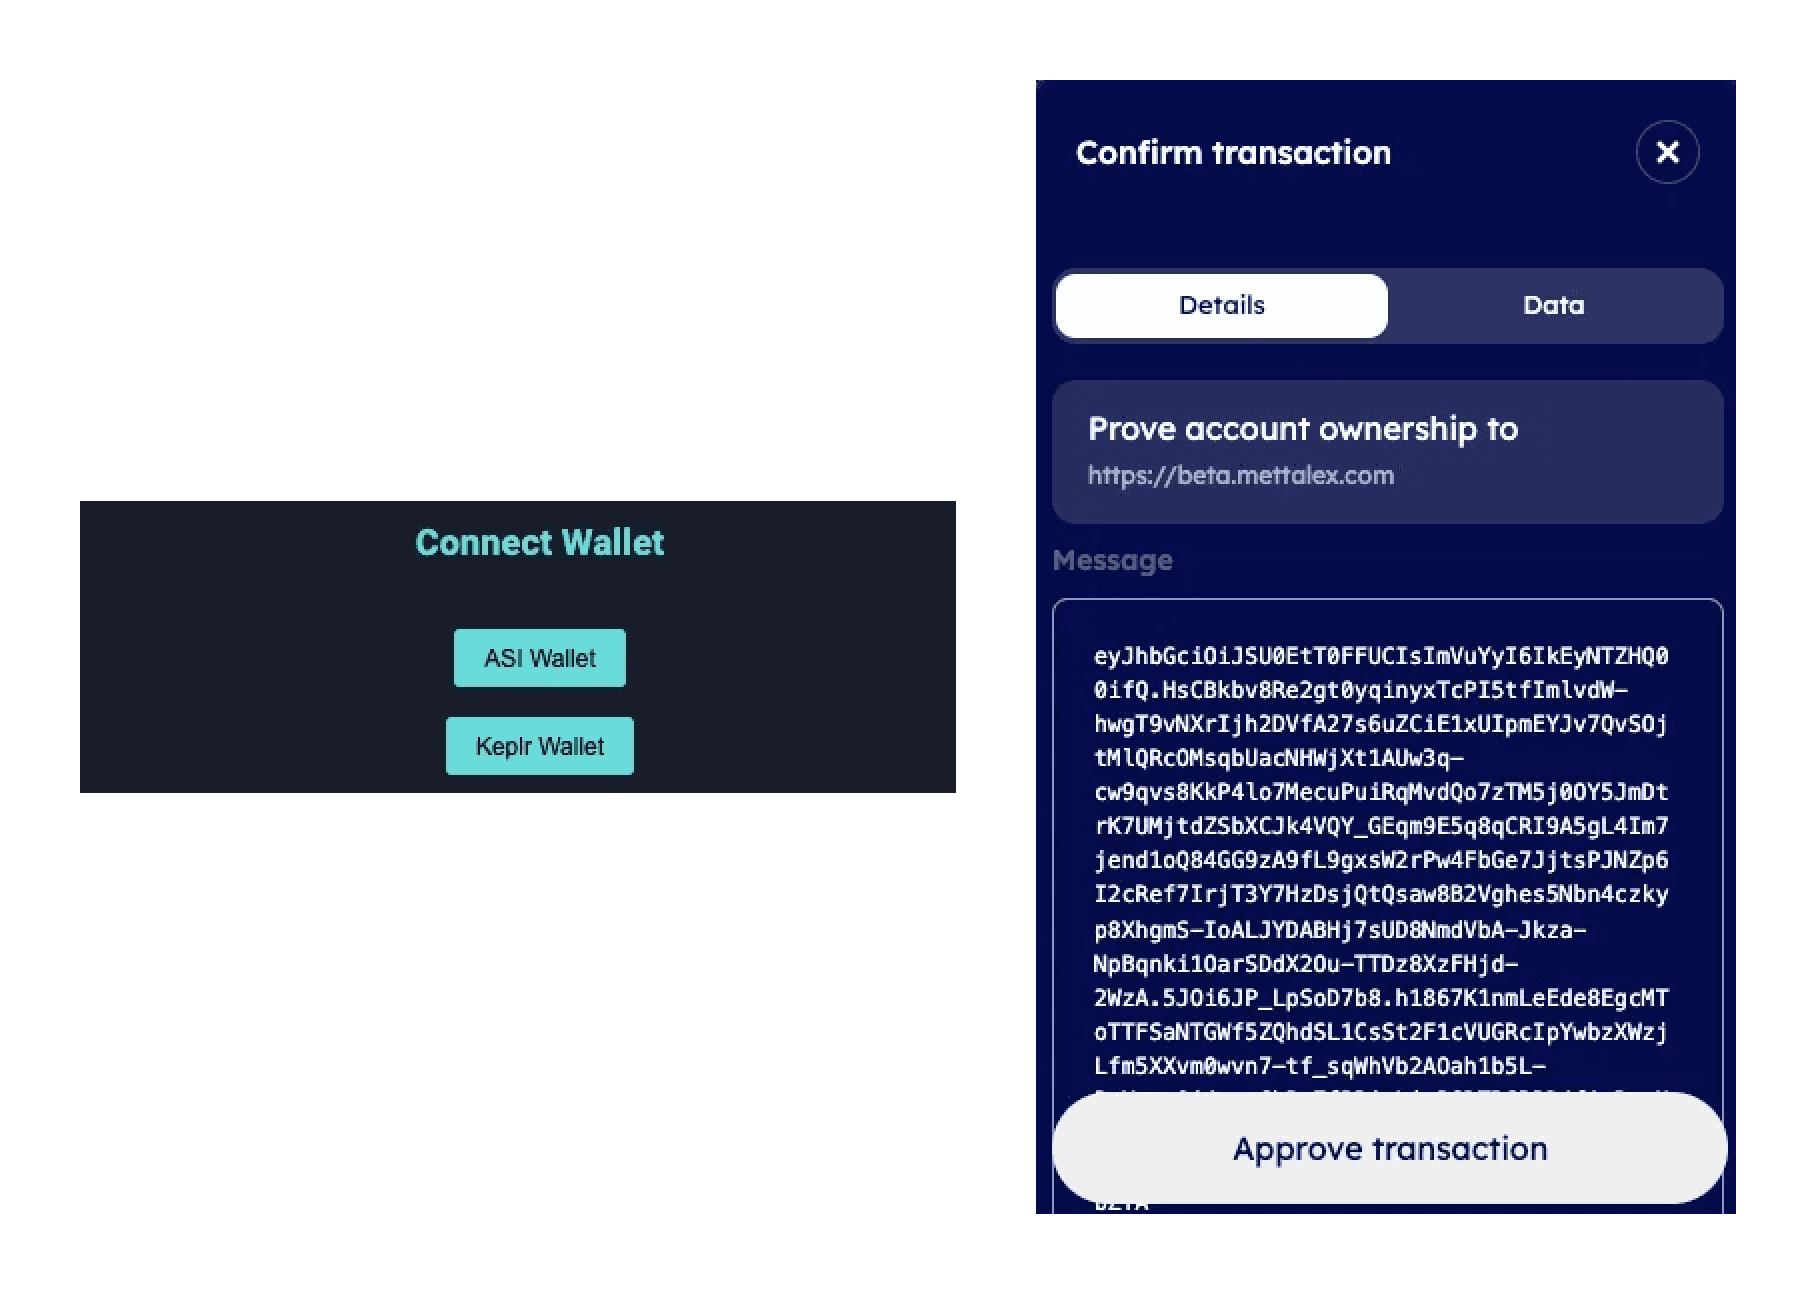
Ensure your ASI wallet is ready. Make sure it’s configured to the Dorado testnet to interact with our beta platform. Click on "Connect Wallet" in the top right corner of the site and select ASI Wallet. A popup will prompt you to sign a transaction verifying your account ownership.
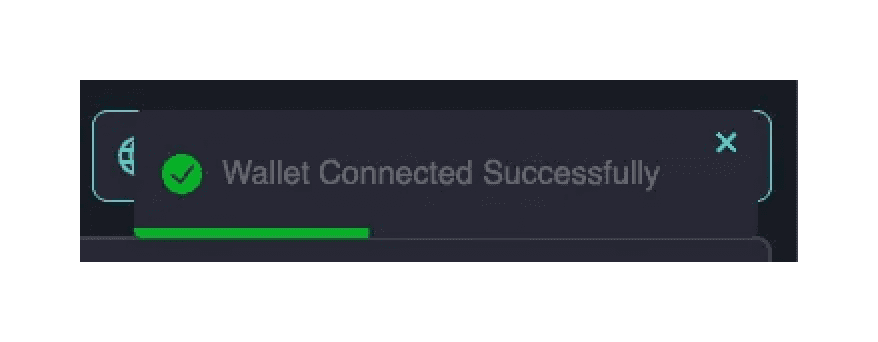
You will receive popup of “Wallet Connected Successfully”
Acquire Test Tokens:
Use the “Faucets” feature on the platform to receive test tokens. These tokens will allow you to conduct transactions during the beta phase without using real assets.

First, claim your TESTFET tokens. These tokens will be used as gas tokens to sign transactions on the platform.
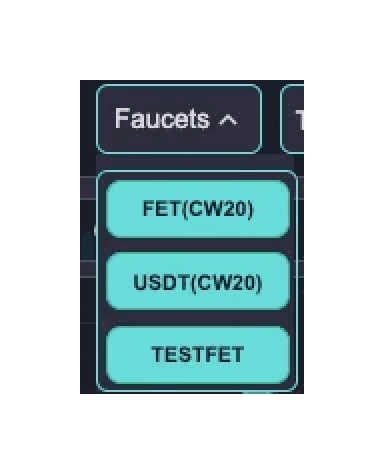
After receiving 10 TESTFET tokens, you can proceed to claim additional tokens like USDT (CW20) and FET (CW20). For each token type, you’ll need to sign a transaction to complete the claim. A small portion of your TESTFET tokens will be used as gas fees for these transactions. Ensure you have enough TESTFET for seamless processing.
Kindly note, a user can claim faucet tokens only once every 24 hours.

Congratulations on making it this far! Before diving in, let’s take a moment to familiarize ourselves with the platform and its key features, designed to enable seamless trading through our AI Agent-based DEX.
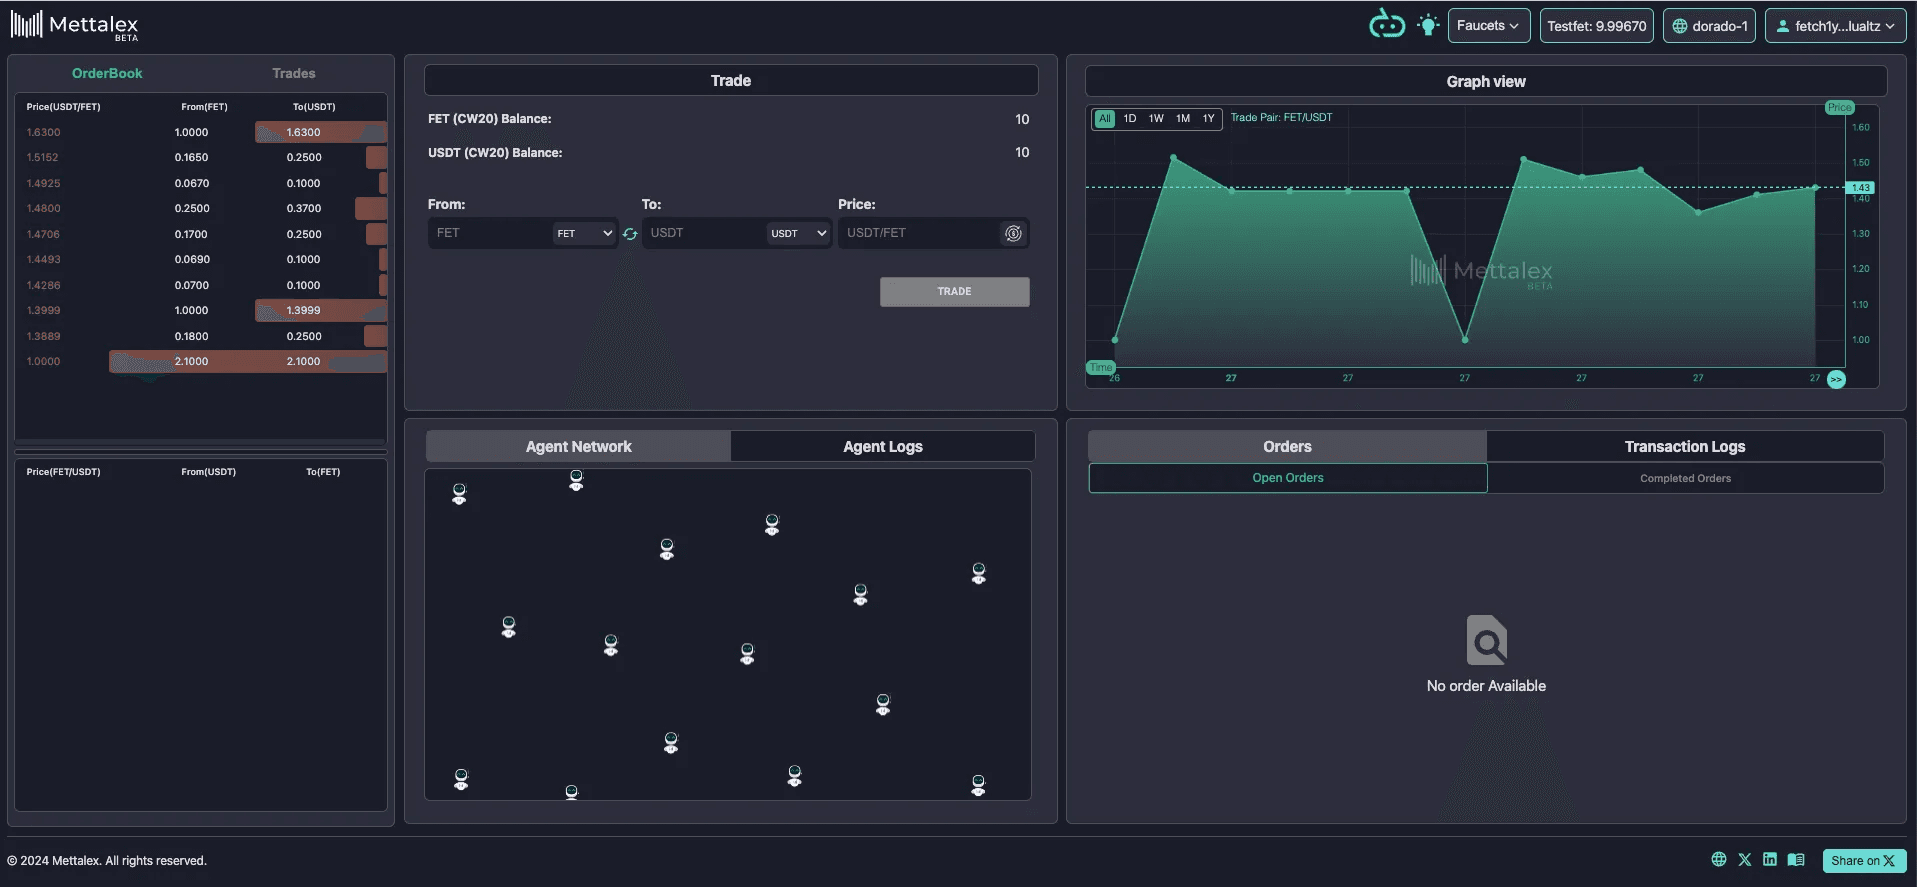
Orderbook: This section displays the list of all buy and sell orders for each trading pair. It displays the market depth, highlighting the range of prices at which traders are willing to buy (bids) and sell (asks). This section helps you understand market liquidity and price trends for informed trading decisions.
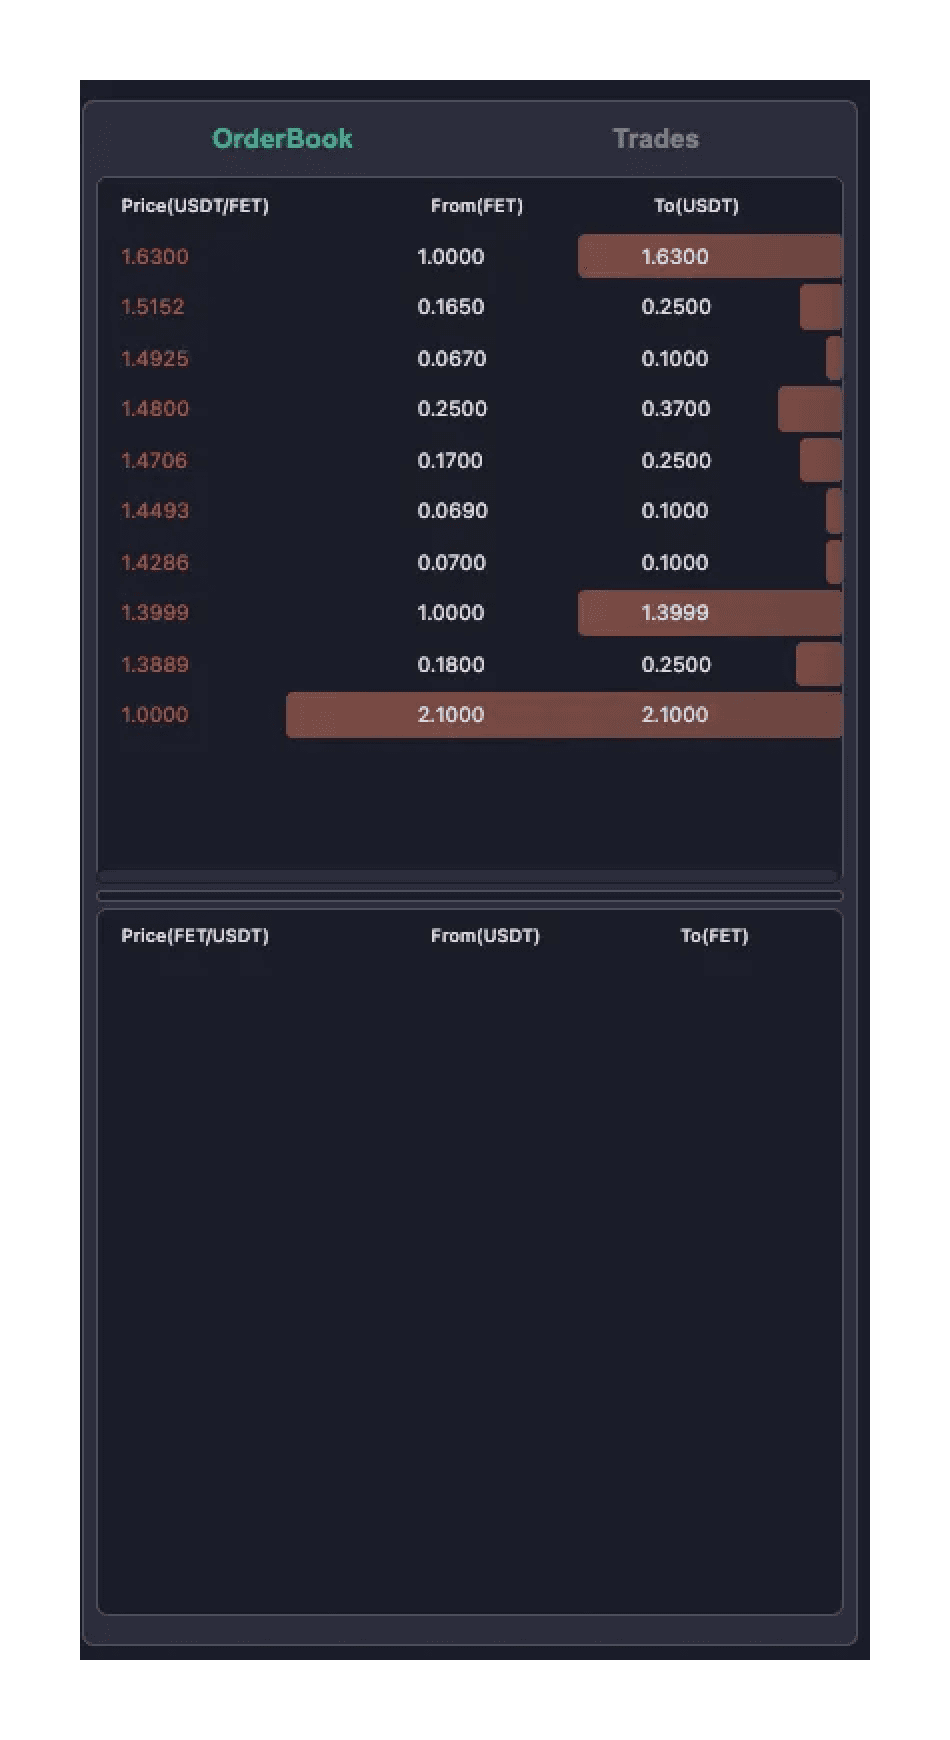
Trades Tab: Here, you'll find a list of all available trades on the Platform.
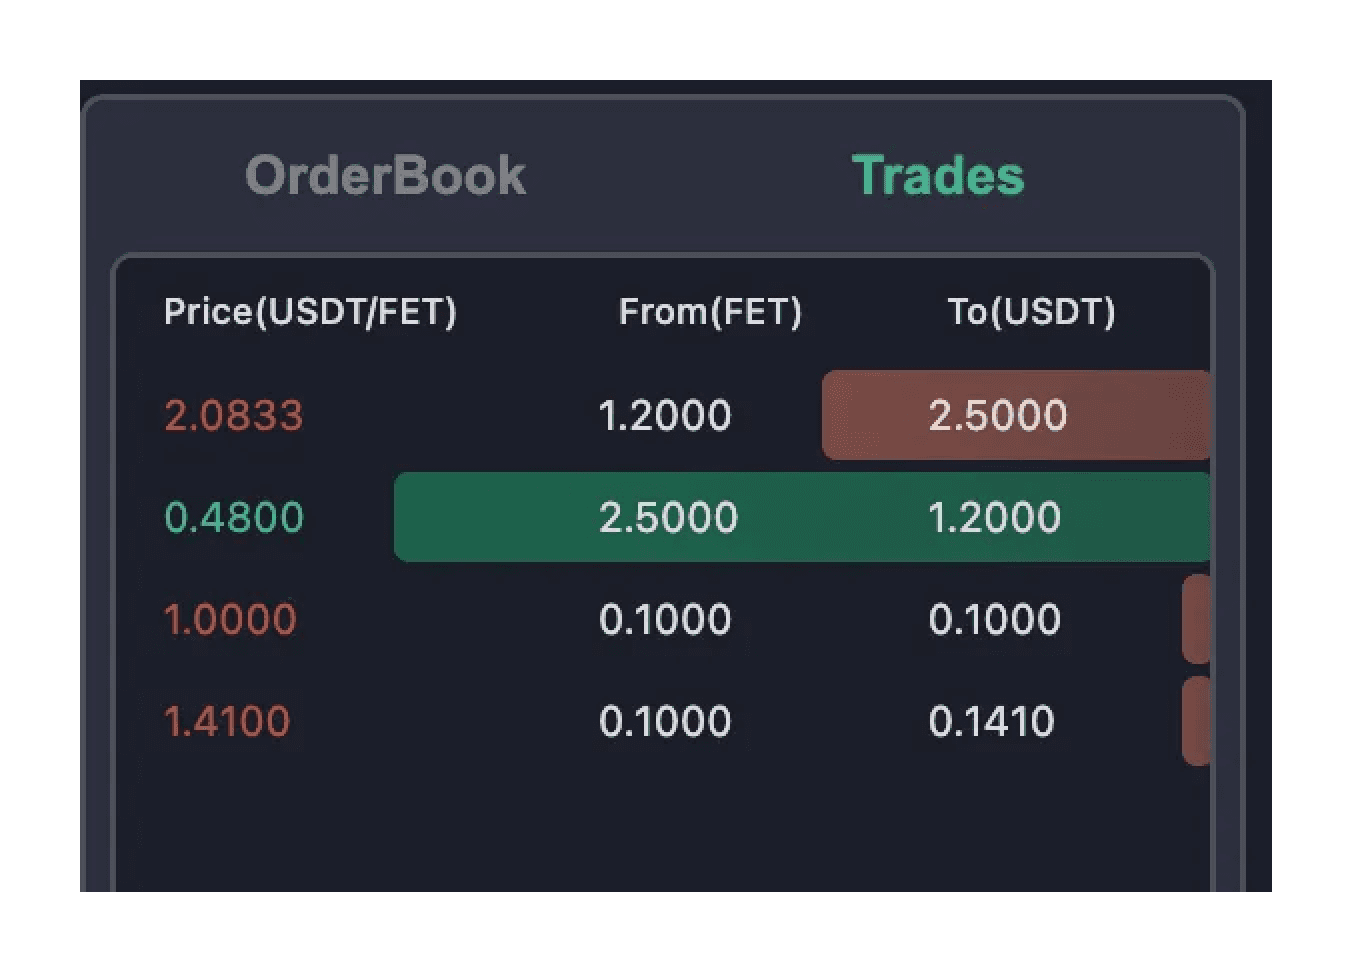
Trade: Located under the Trade Tab, you execute trades or swaps. The assets you can trade from and to are displayed here, along with your balance and the desired swap price.
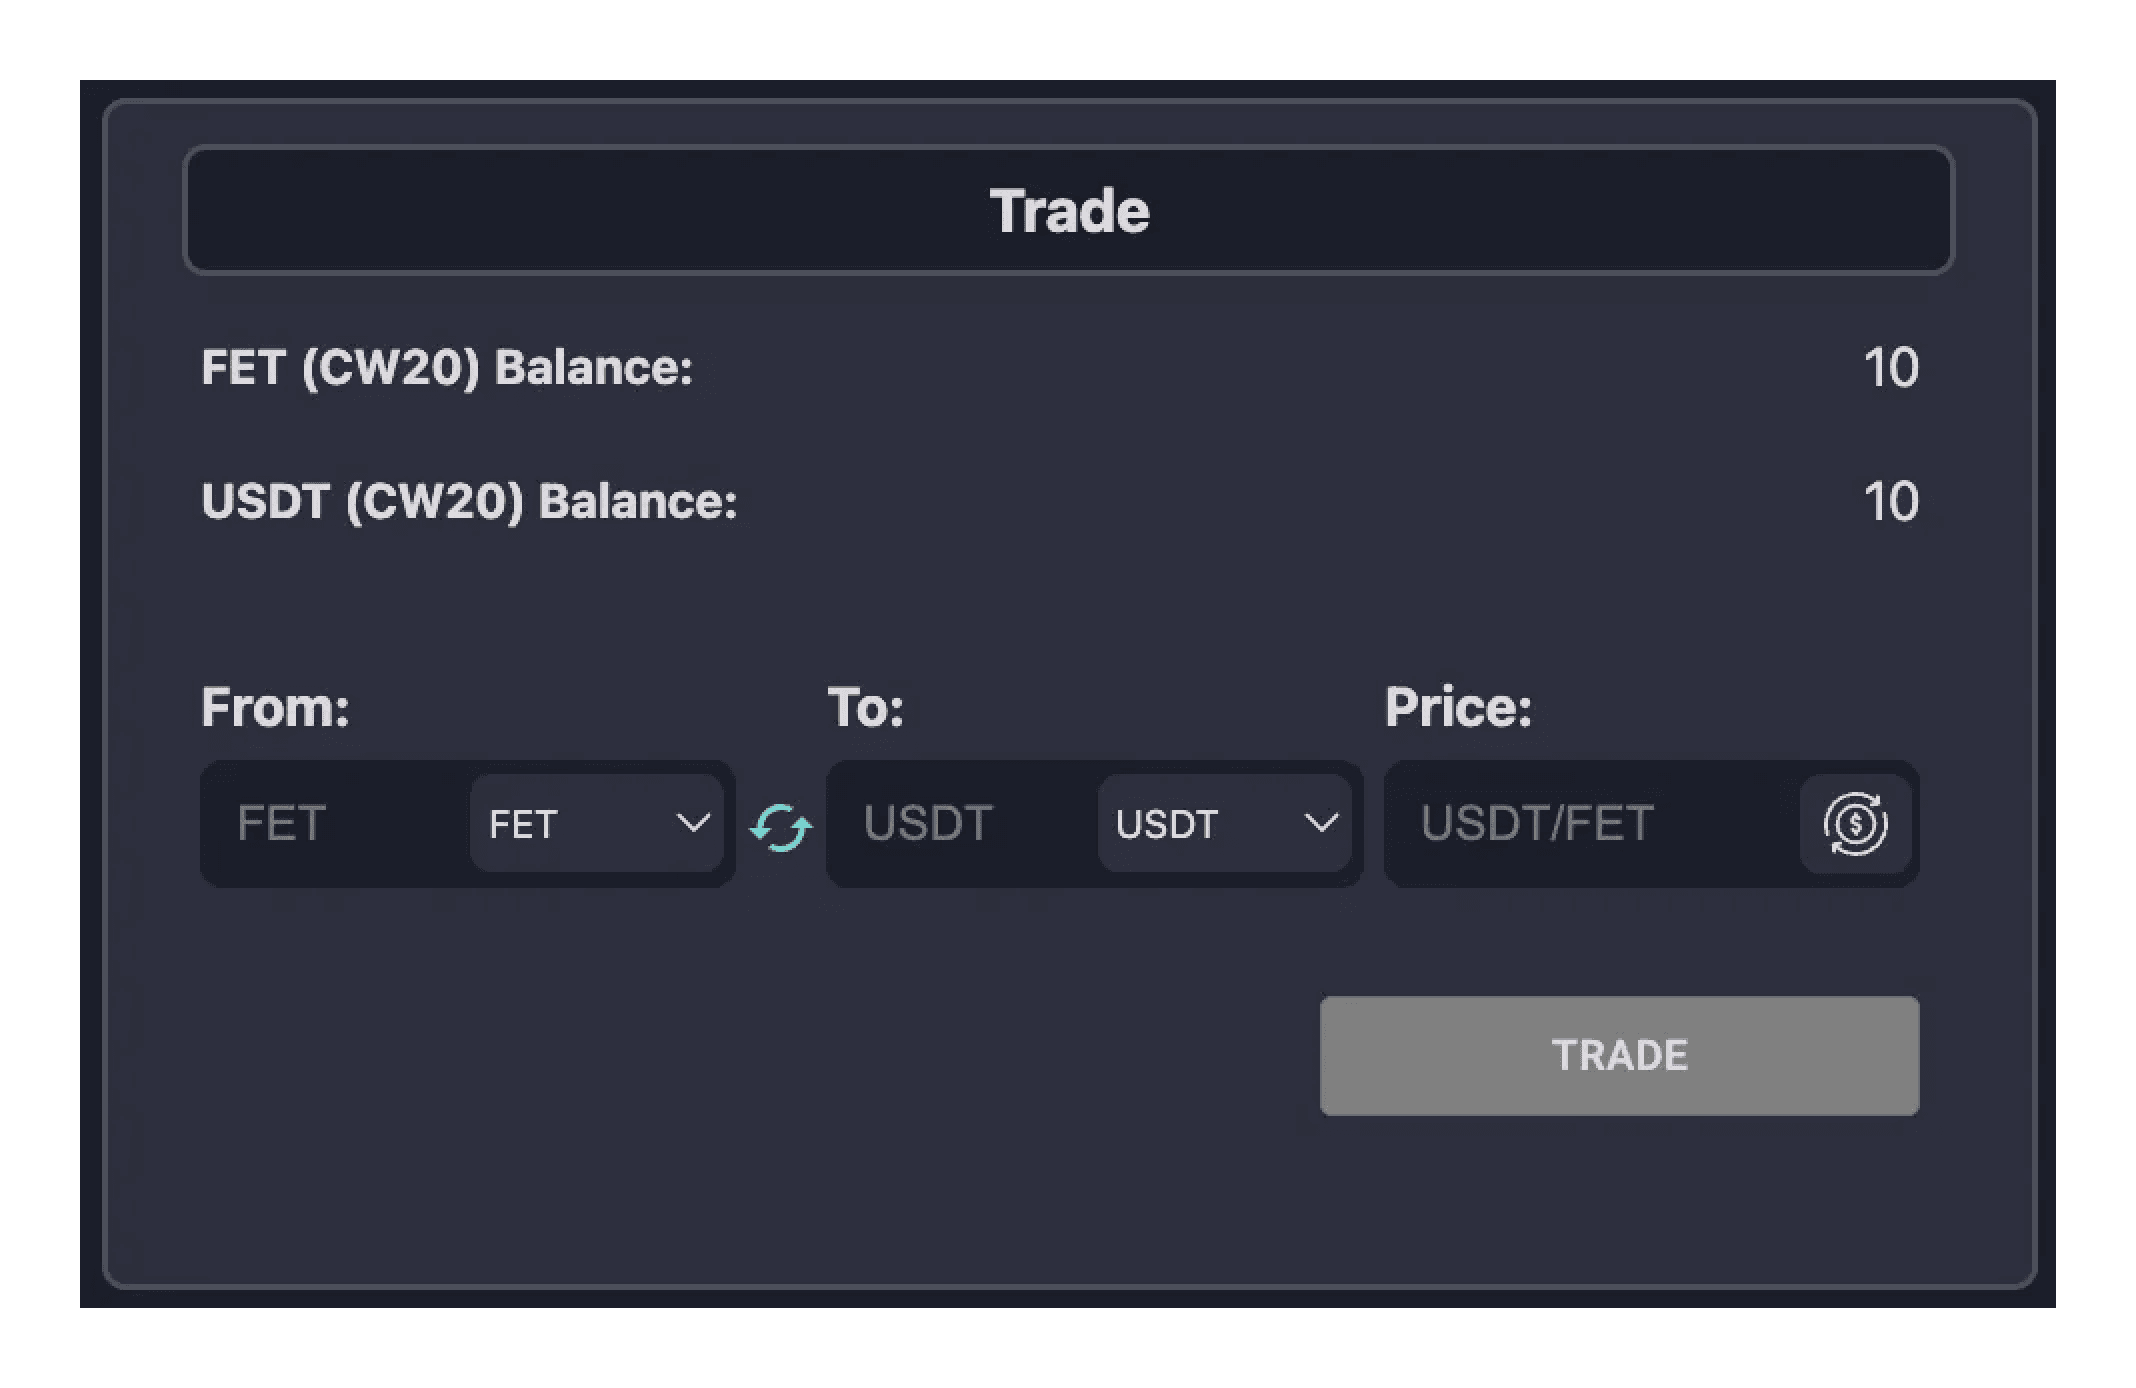
Agent Logs: This section provides detailed information about the agents, including their interactions and activities.
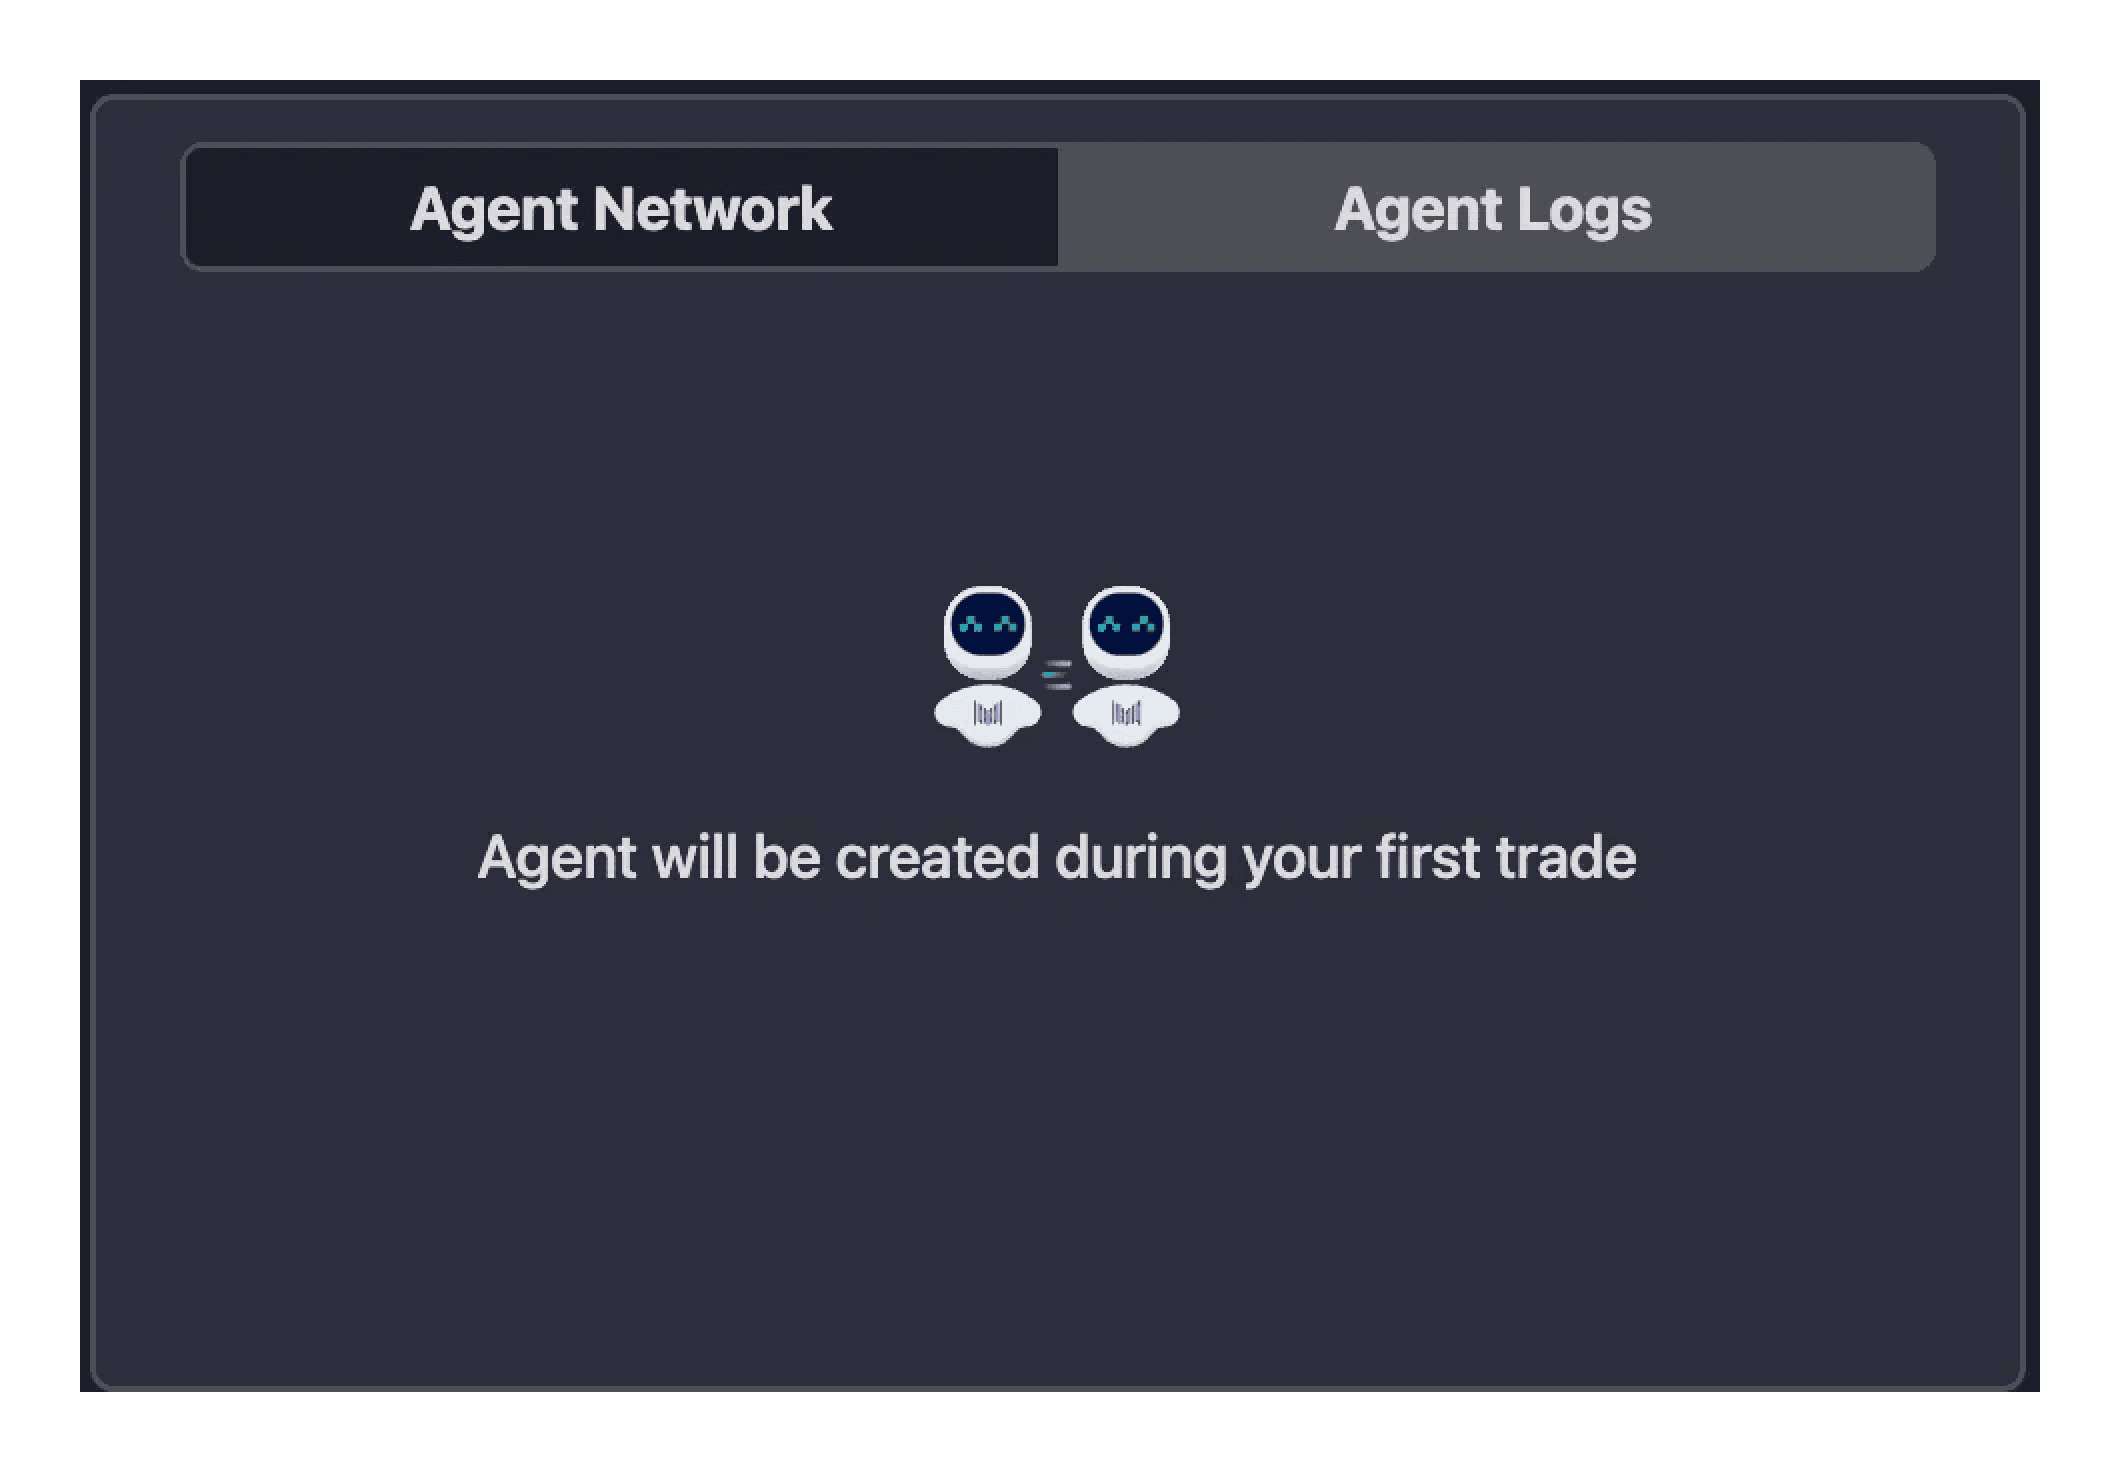
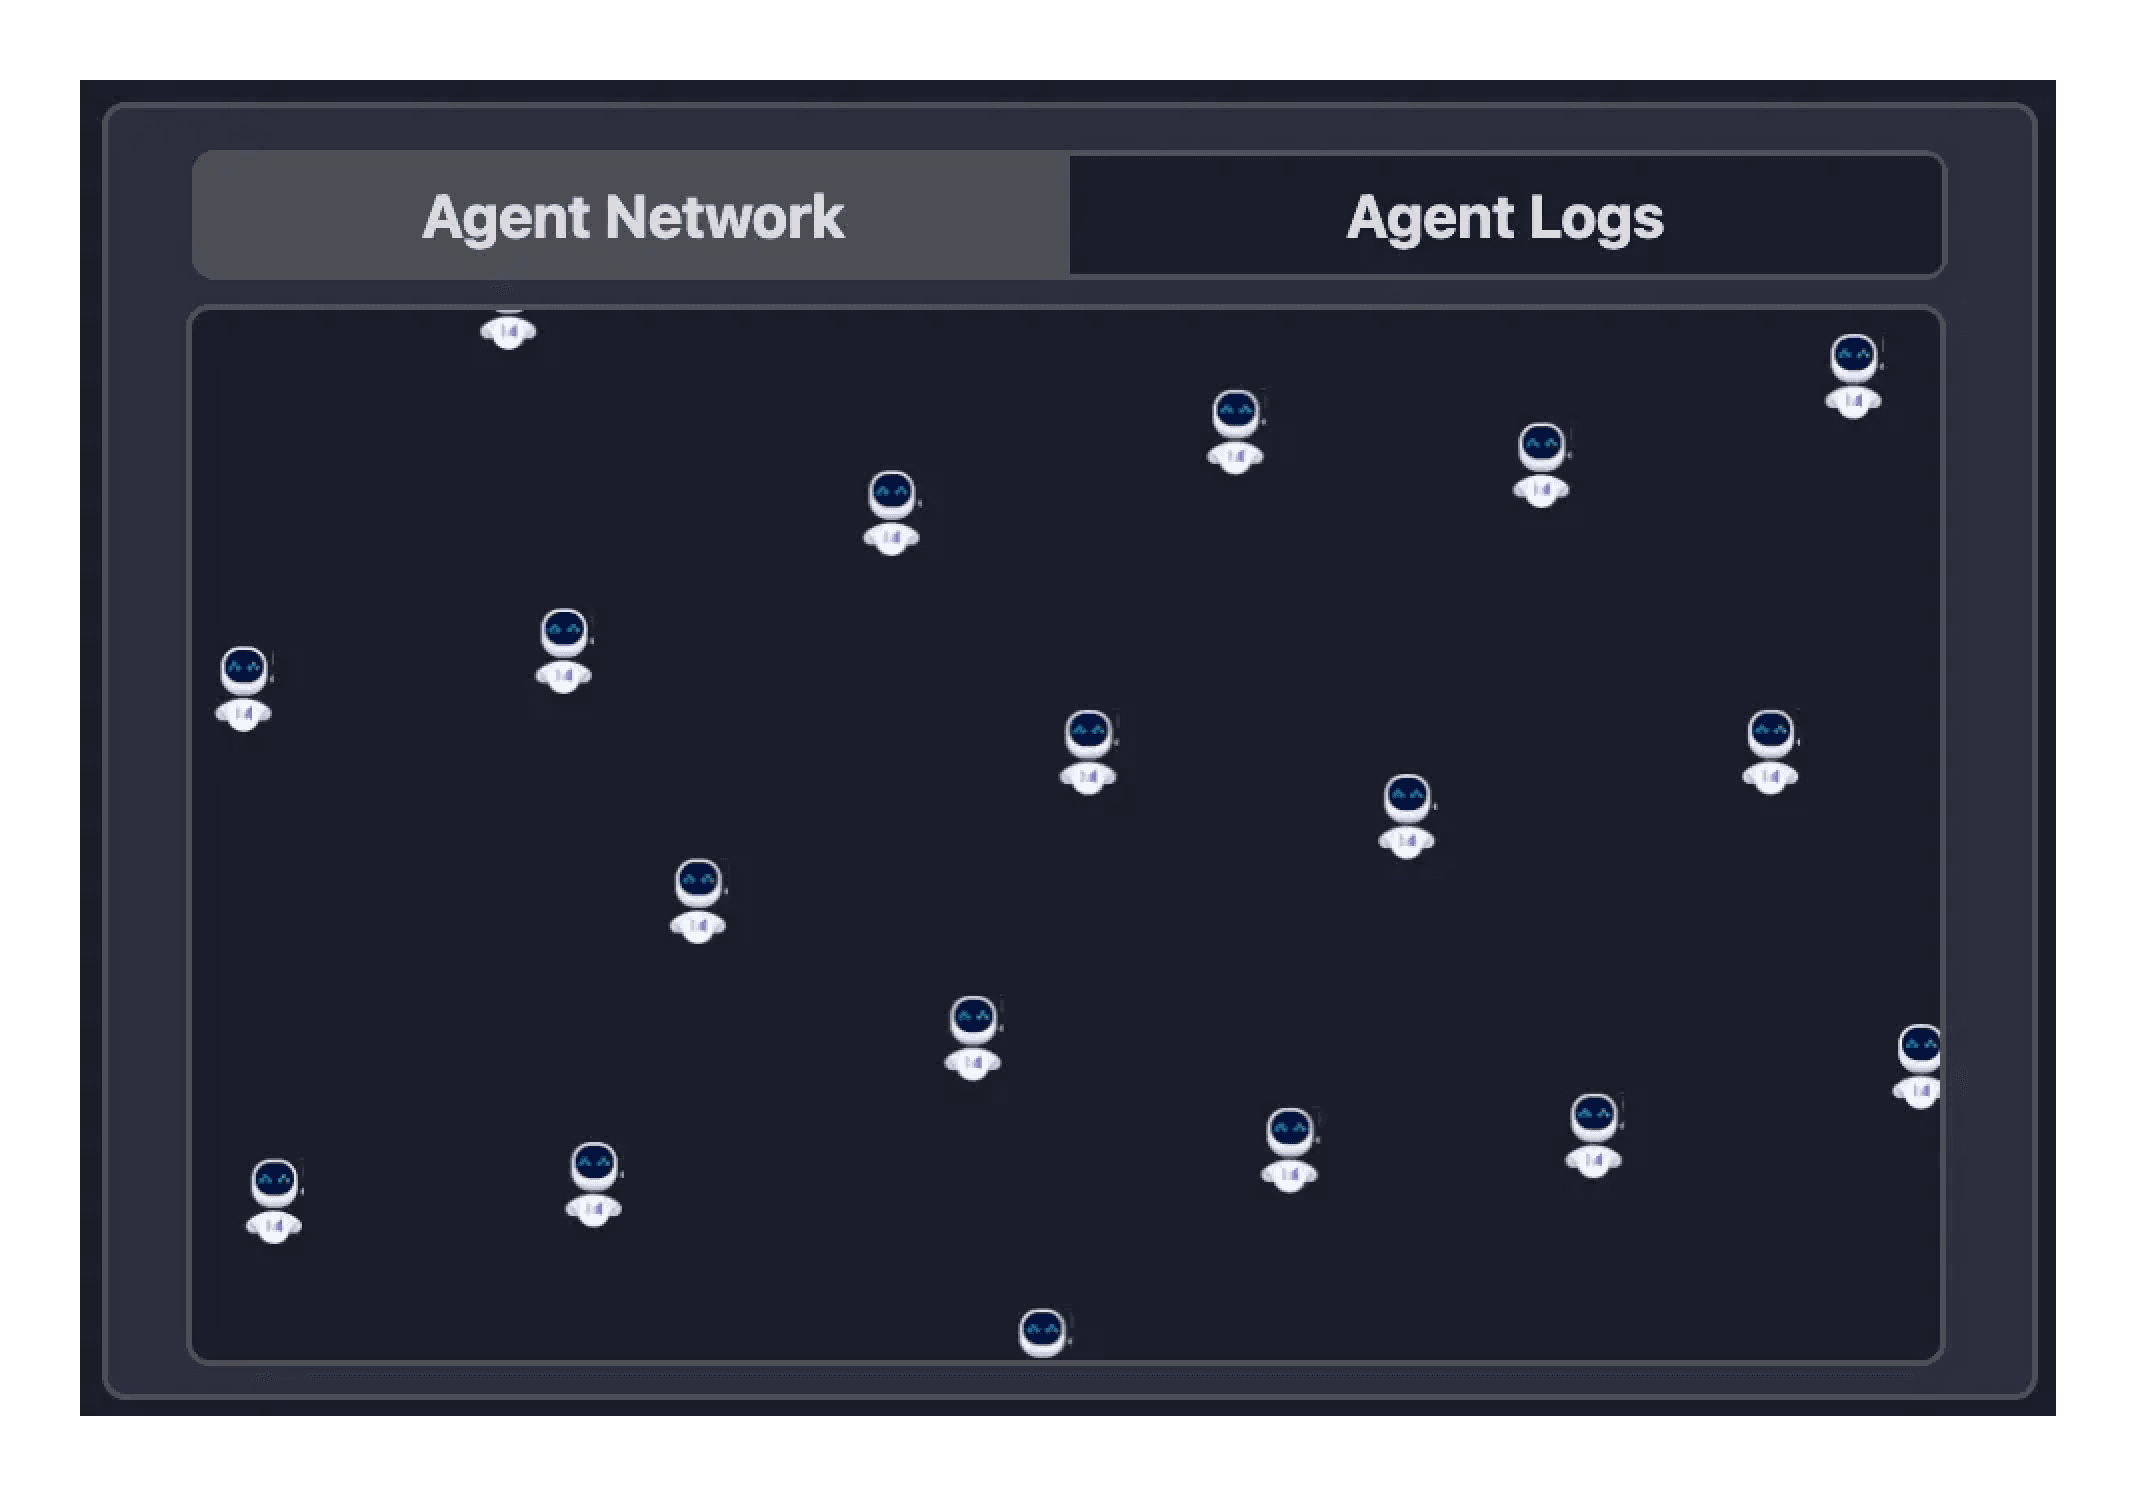
Agent Network: This visualizes the network of agents within the system their interactions with each other.
Transaction Logs: Here, you can review all transaction details, such as order creation and funds transfers.
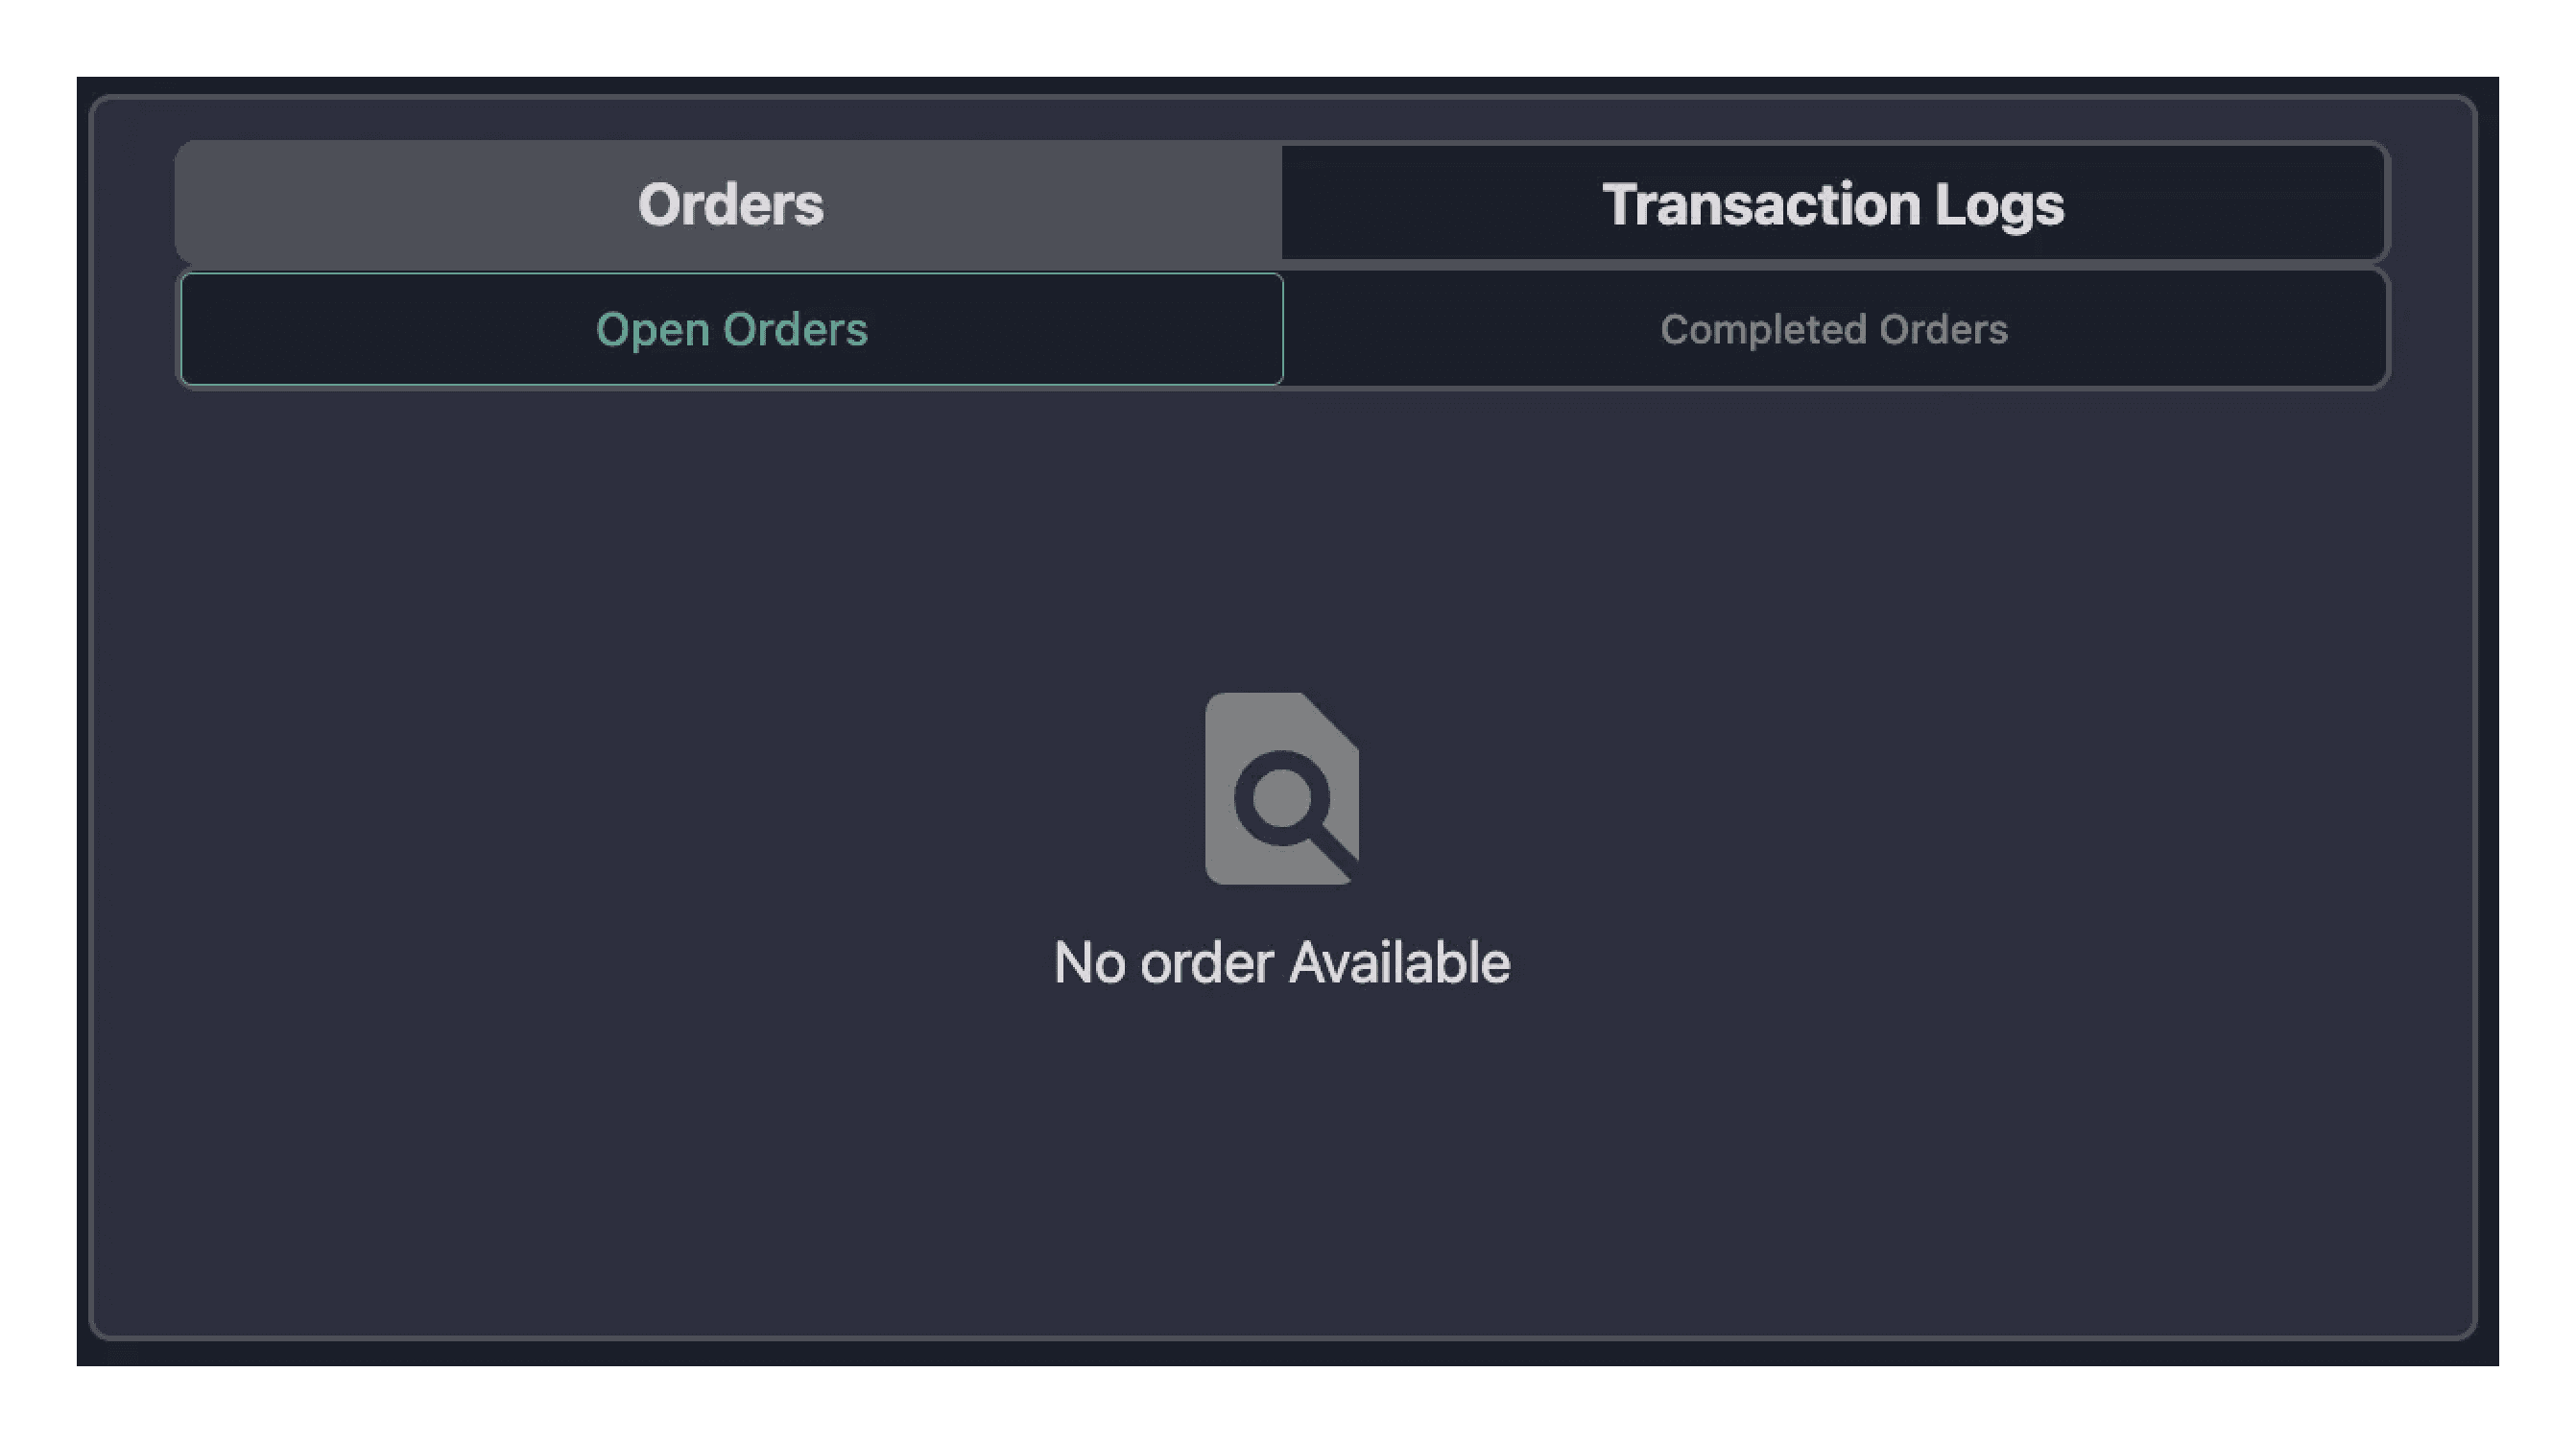
Order Tab: This area shows details of your open and closed orders, including the status of each order.
Graph View: A new feature in our public beta, Graph View provides a dynamic chart displaying the price movement of a trading pair over time. you can select time frames such as 1D (1 day), 1W (1 week), 1M (1 month), and 1Y (1 year) to analyze trends. This feature helps traders gain a comprehensive understanding of price fluctuations over different periods, enabling more informed trading decisions.
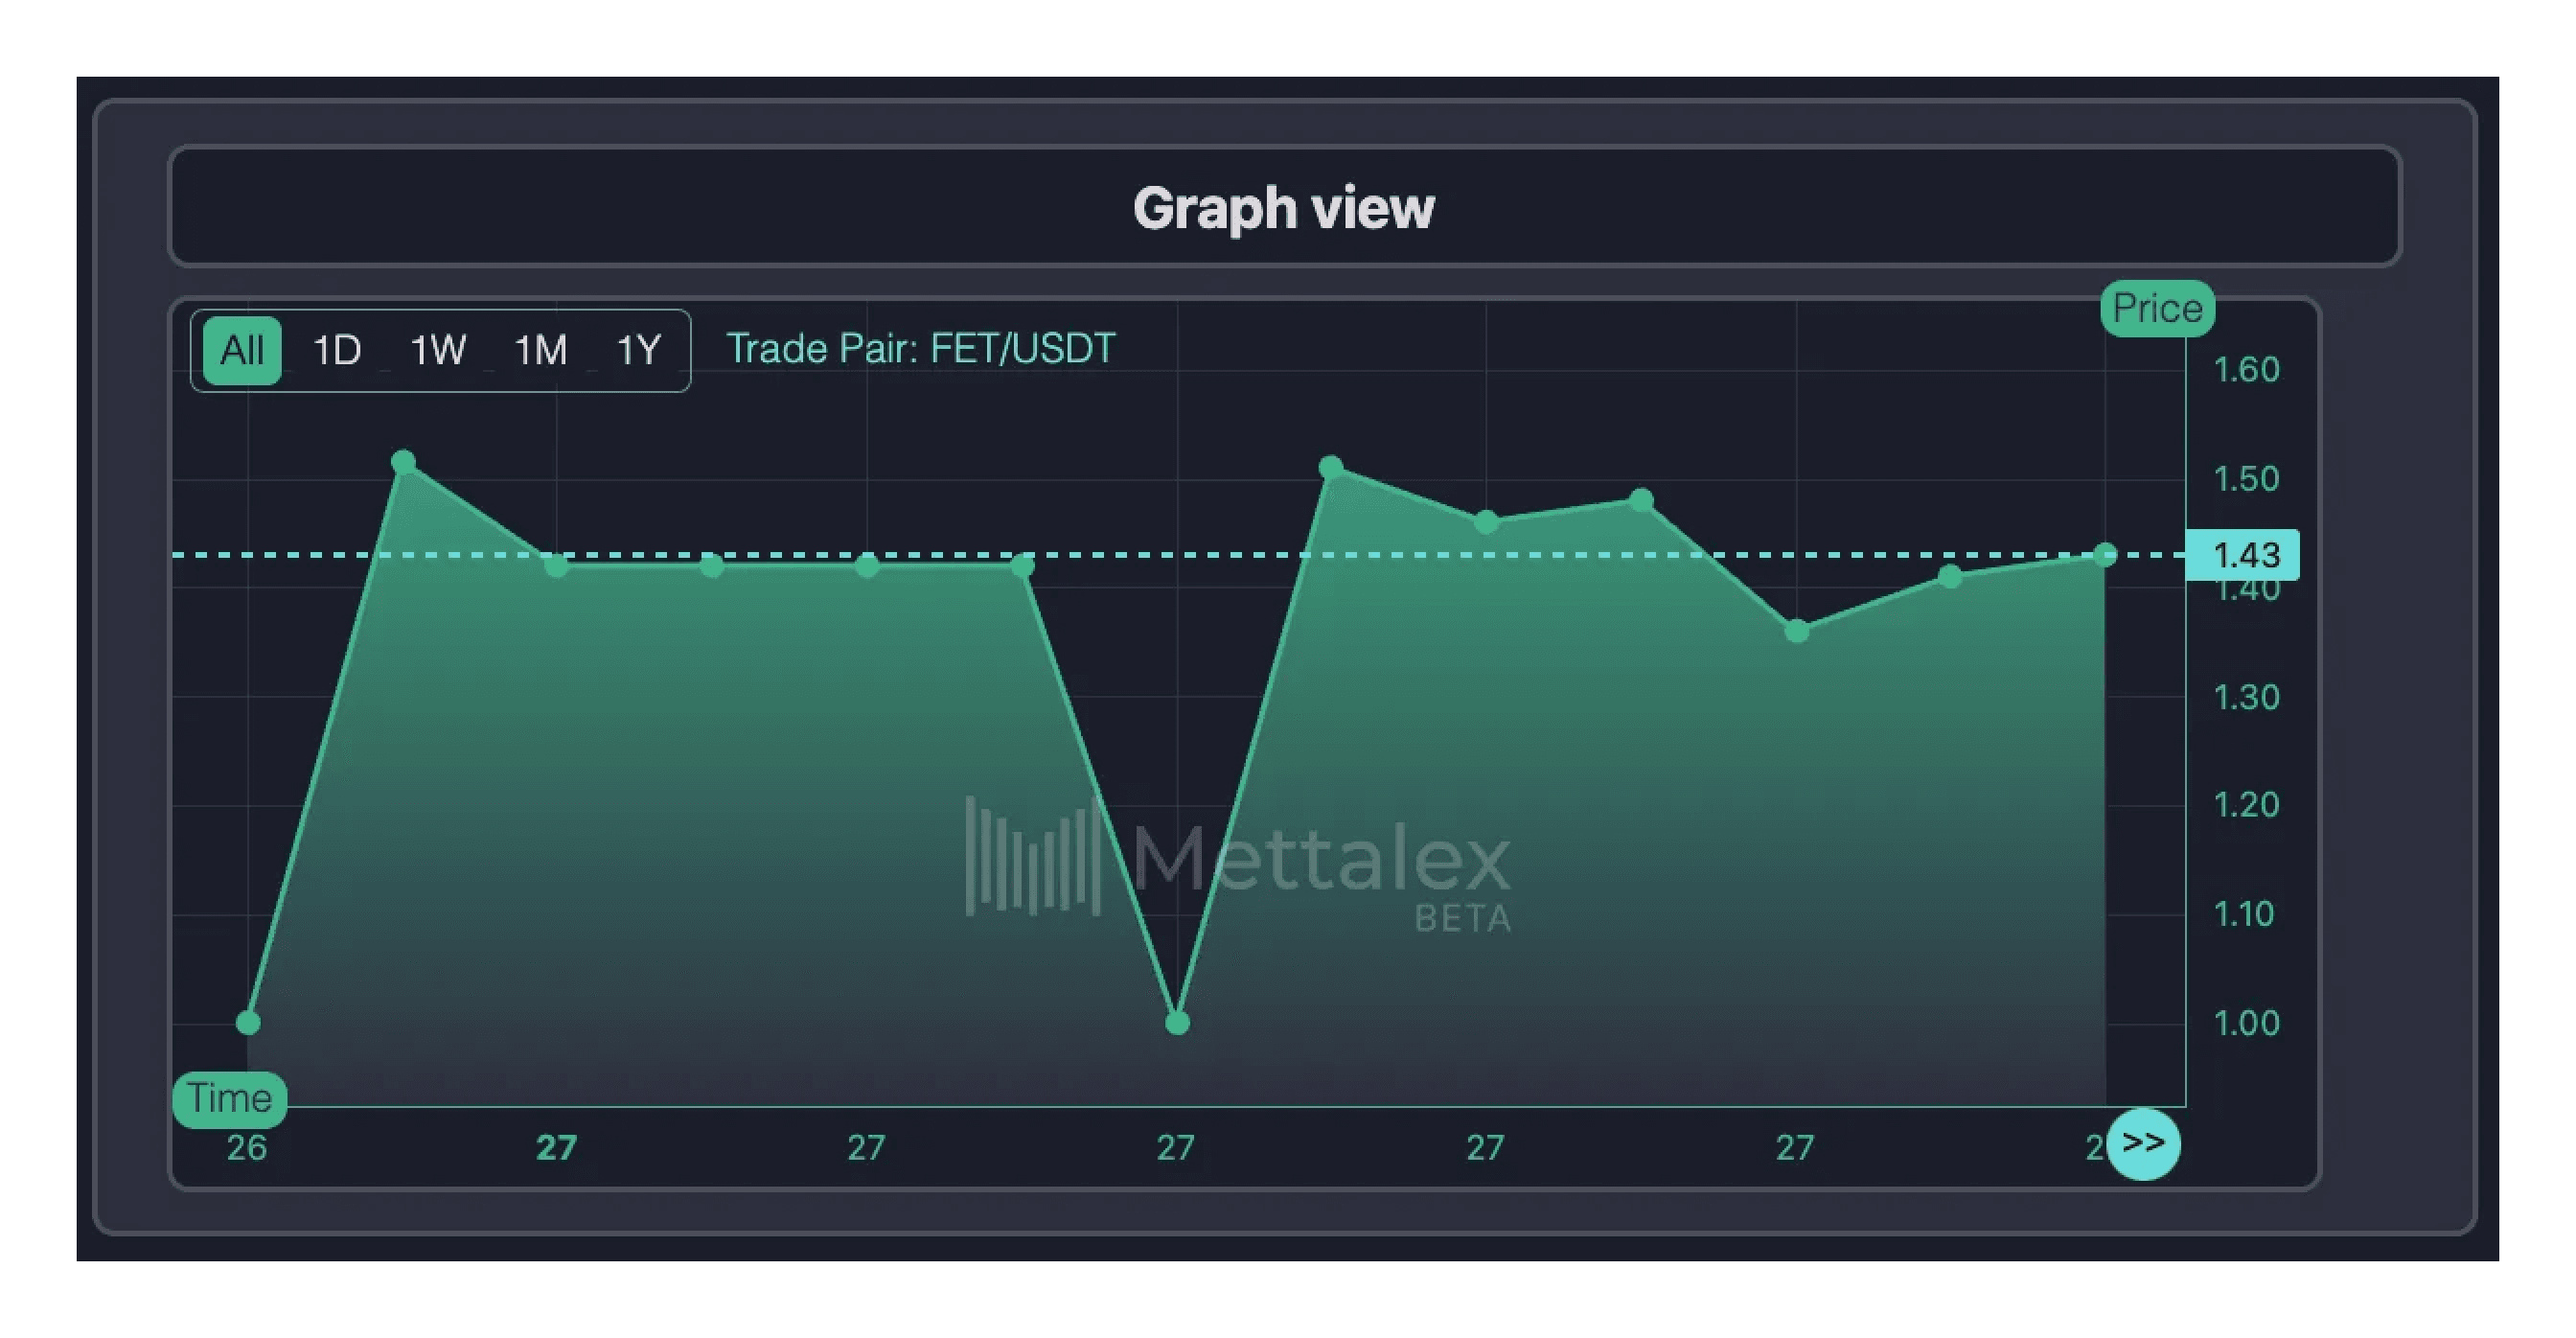
These features are designed to give you a comprehensive view of platform trading activities and agent operations.
Start Trading:
To begin trading on the Mettalex platform, navigate to the Trade section. Here's how you can execute a trade:
Select Your Assets
To begin trading, select the asset you want to swap and the asset you wish to receive. For example, if you're exchanging FET for USDT, you have two options:
Specify the amount of the asset you want to trade or receive.
Use the Fetch Market Price option to automatically retrieve the current market rate.
For this user guide, we will demonstrate trading 1 FET for 2 USDT. Once you've reviewed and confirmed the details, proceed to execute the trade.
Important Note
Self trades are not possible as a security measure. Users cannot create opposite counter trades for execution through same wallet.
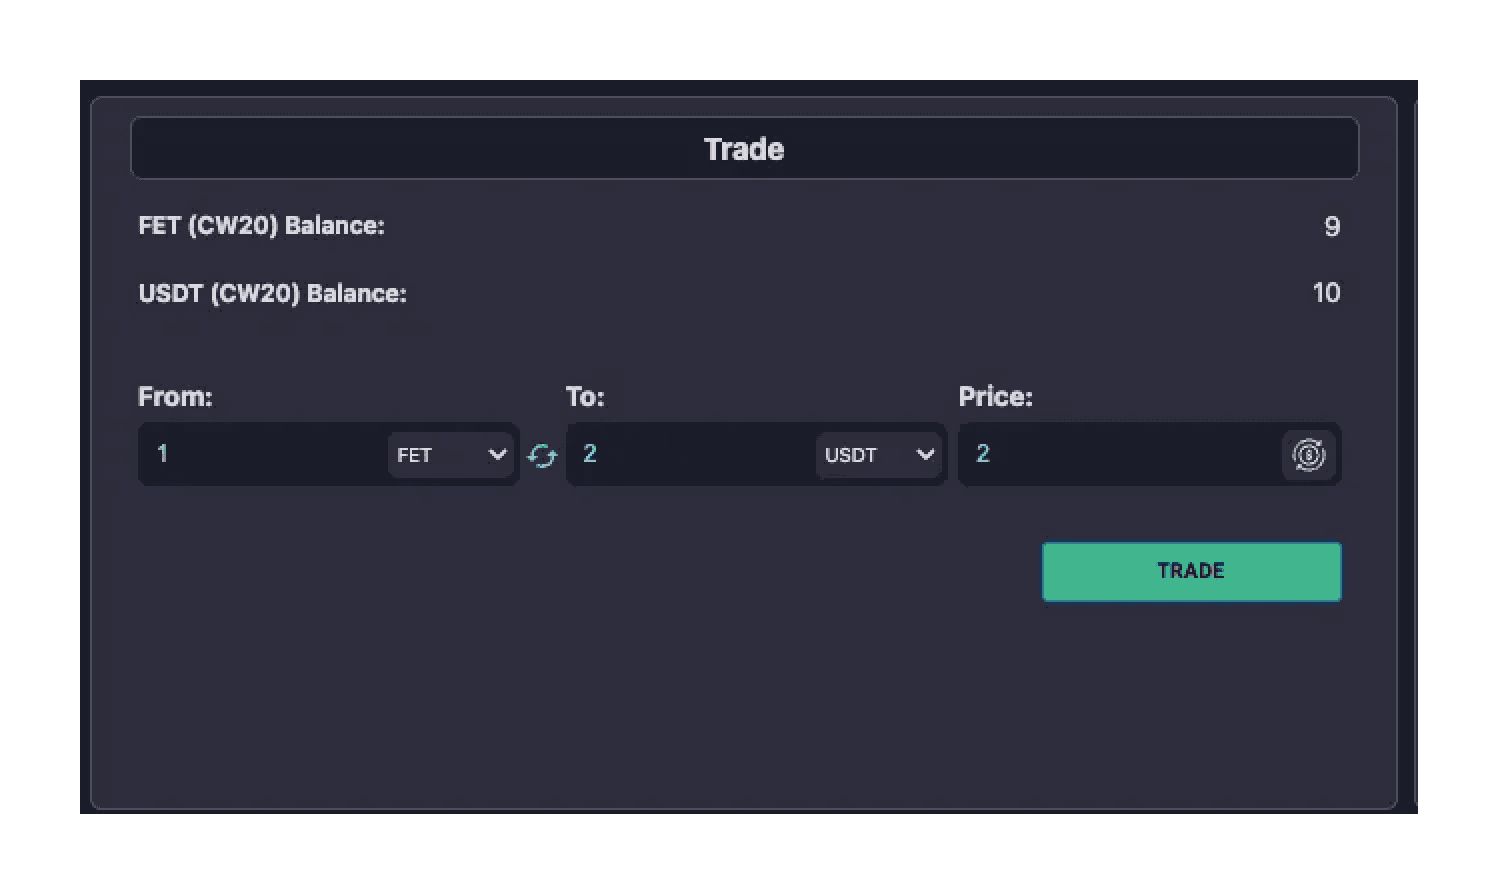
Initiate the Trade: Click “Trade” to initiate the trade. For initializing your account on Mettalex, the platform will prompt you to sign several transactions to set up your trading environment. This includes:
Creating an escrow contract.
Mapping the escrow contract to your account.
Creating your trading AI Agent.
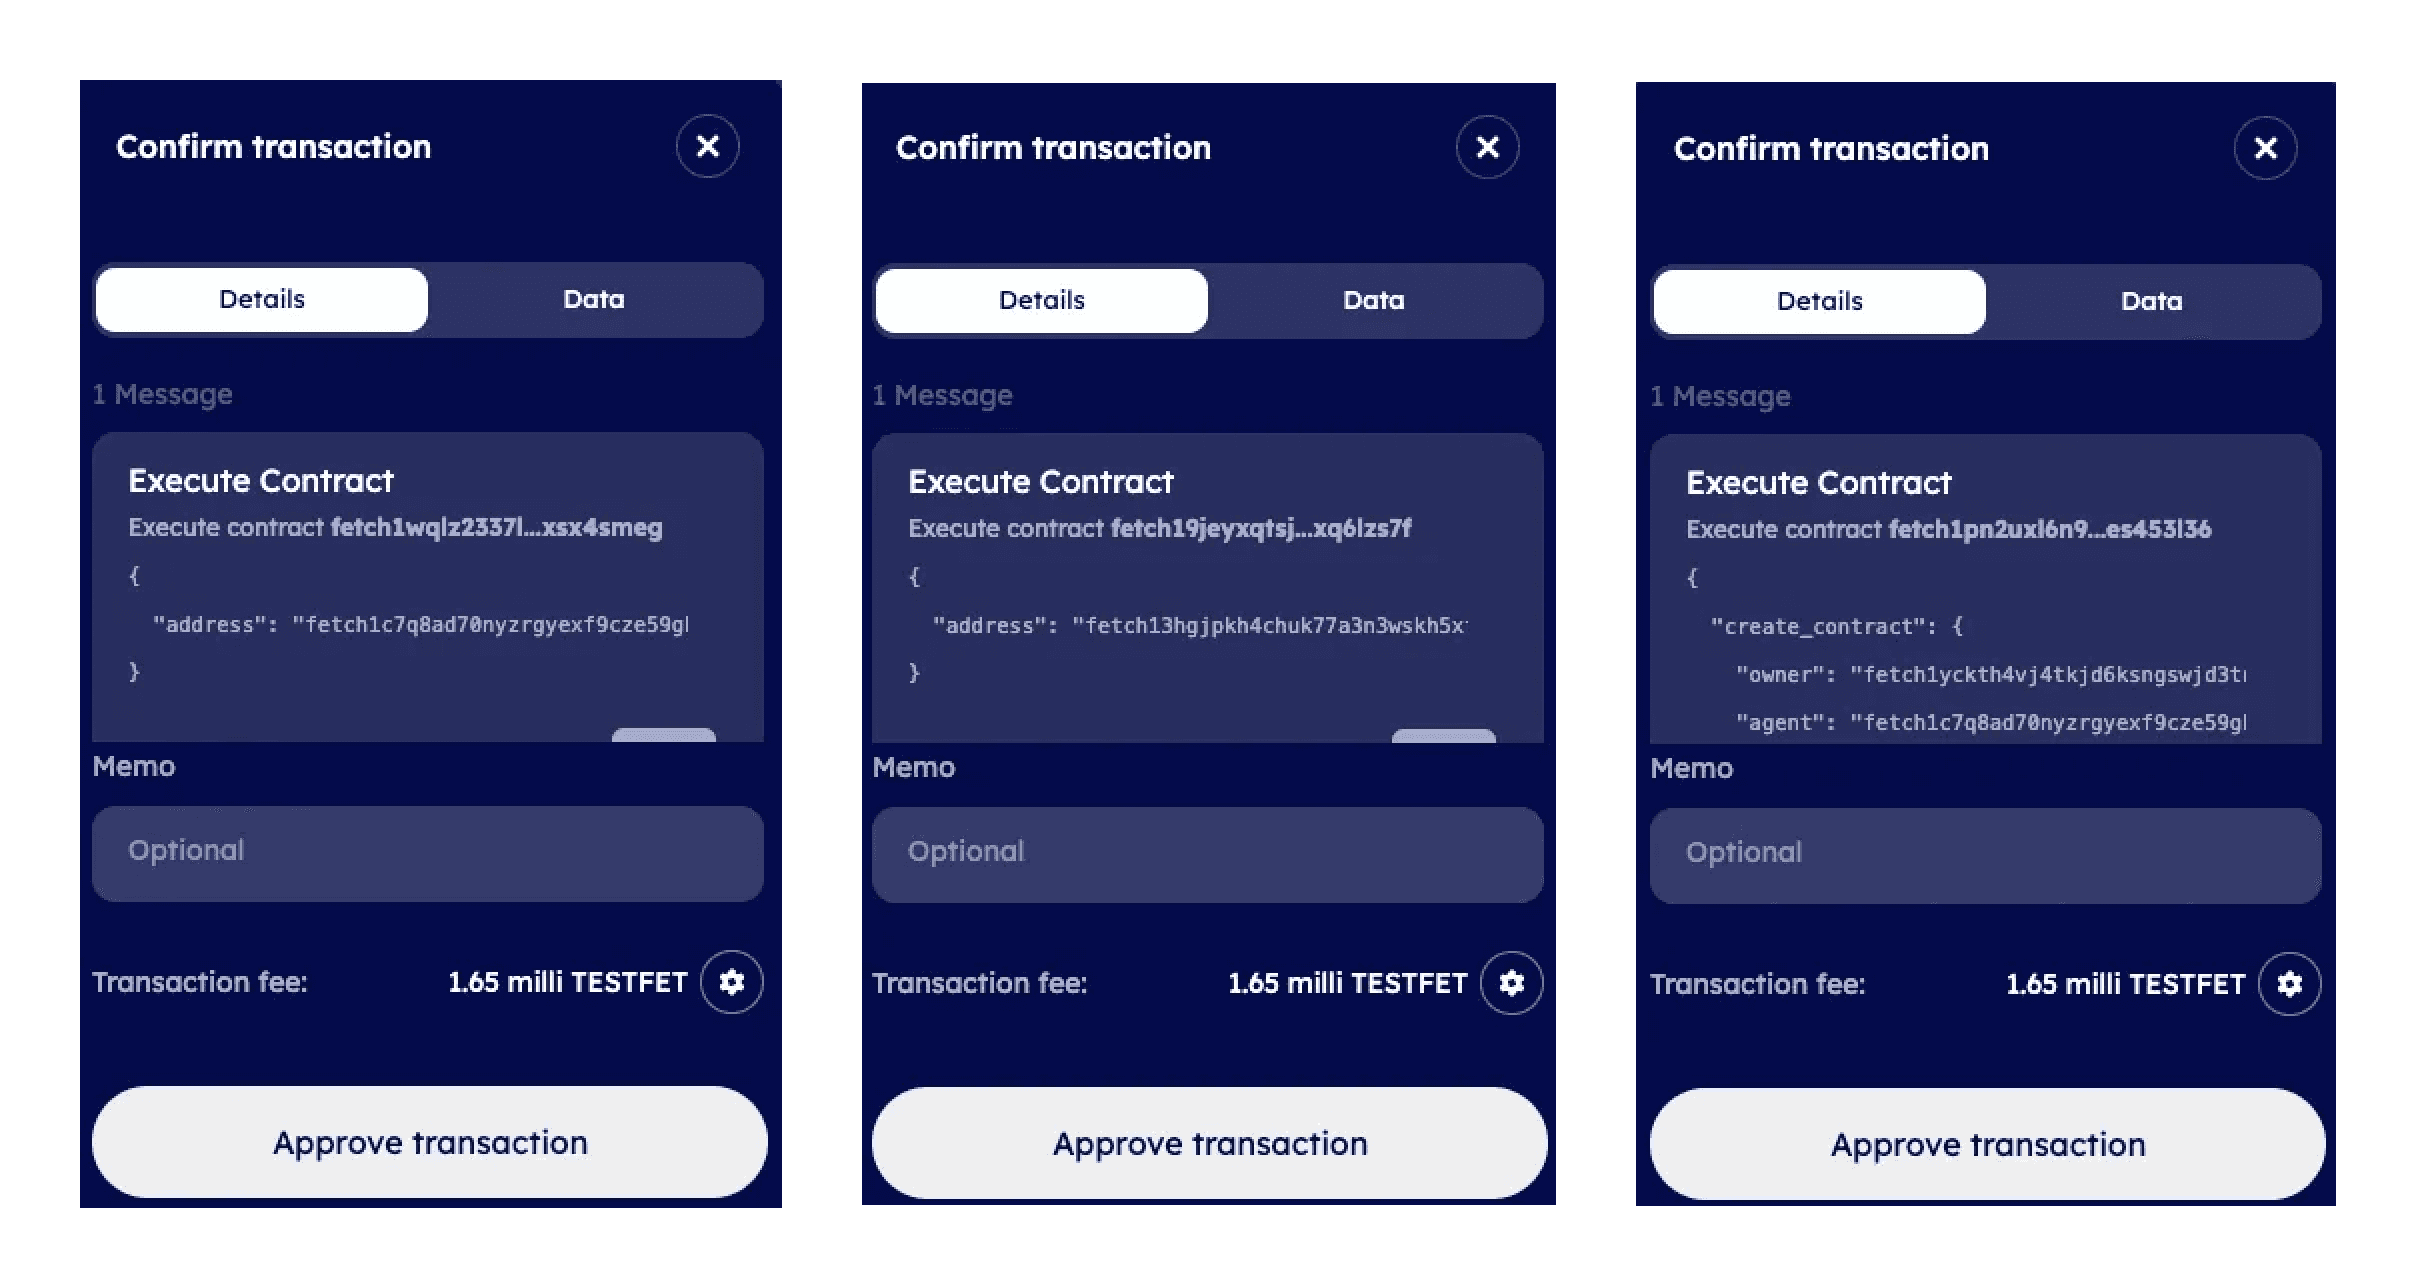
Detailed instructions for these steps can be found in the Mettalex Docs on Initializing Your Account.
Locking Funds in Escrow: Once the initial setup is complete, the platform will ask for permission to lock your funds in the escrow contract. Upon approval, your funds will be secured in the escrow contract.
Agent Activation: After locking the funds, your agents will be visible in the Agent Network. Each agent has a specific Agent Address and Wallet Address, viewable at the top right under your profile. These agents will now autonomously search for the best matching trades.
Track Your Trade: As your agents work, you'll notice a reduction in your balances in the trade section, indicating that your funds are locked in escrow and actively engaged in trading.

Monitor Your Trades:
Once you've placed your trade, your agent will secure the trade amount from the escrow contract you locked your funds into, after which they search for matching trades.
Viewing Your Trades and Orders:
Trades Section: After initiating a trade, you can view your transaction in the trades section, accessible to all platform users. This visibility allows you to monitor the market activity related to your trade and overall trades.
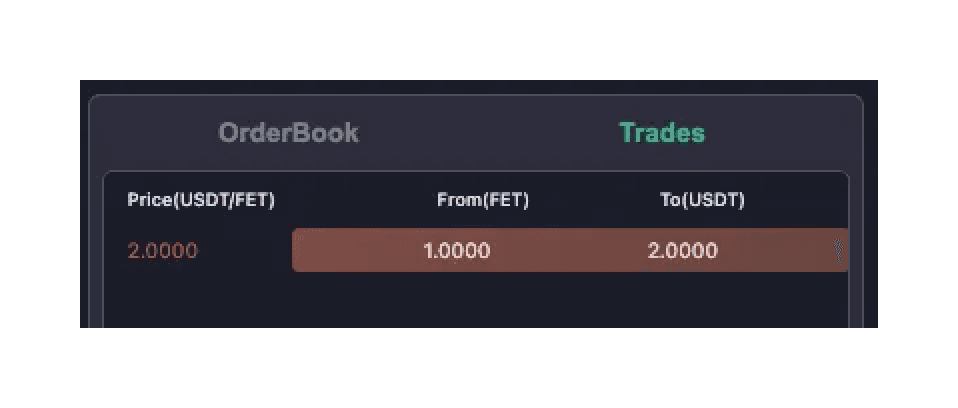
Orders Section: Your trade will also appear in the open orders tab, where you can check its status, whether pending or completed. This section provides a detailed view of your trade's progress and finalization.

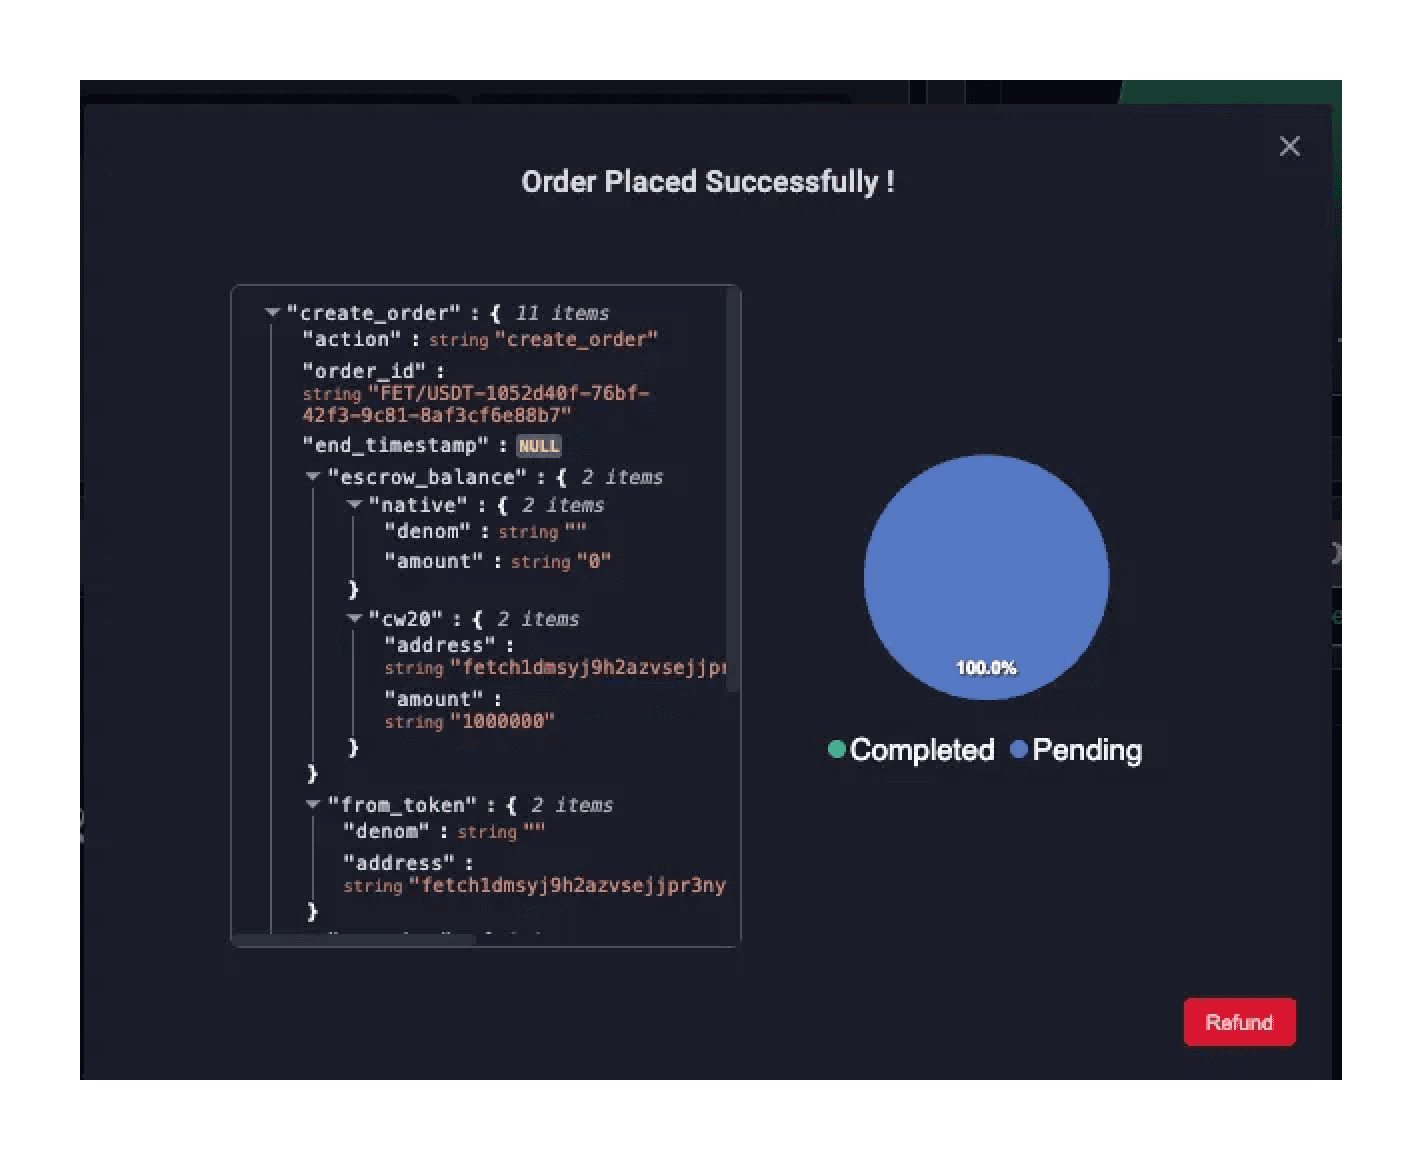
Cancellation and Refunds
If you decide to cancel your order, simply navigate to the open orders in the orders section, click on the order you would want to cancel and click on "Refund". A popup will prompt you to sign a transaction to confirm the cancellation. Once approved, the cancellation will be recorded in the Trades section. The funds that were locked in escrow will be released, and you will see your balances for the associated asset increase in the trade section.

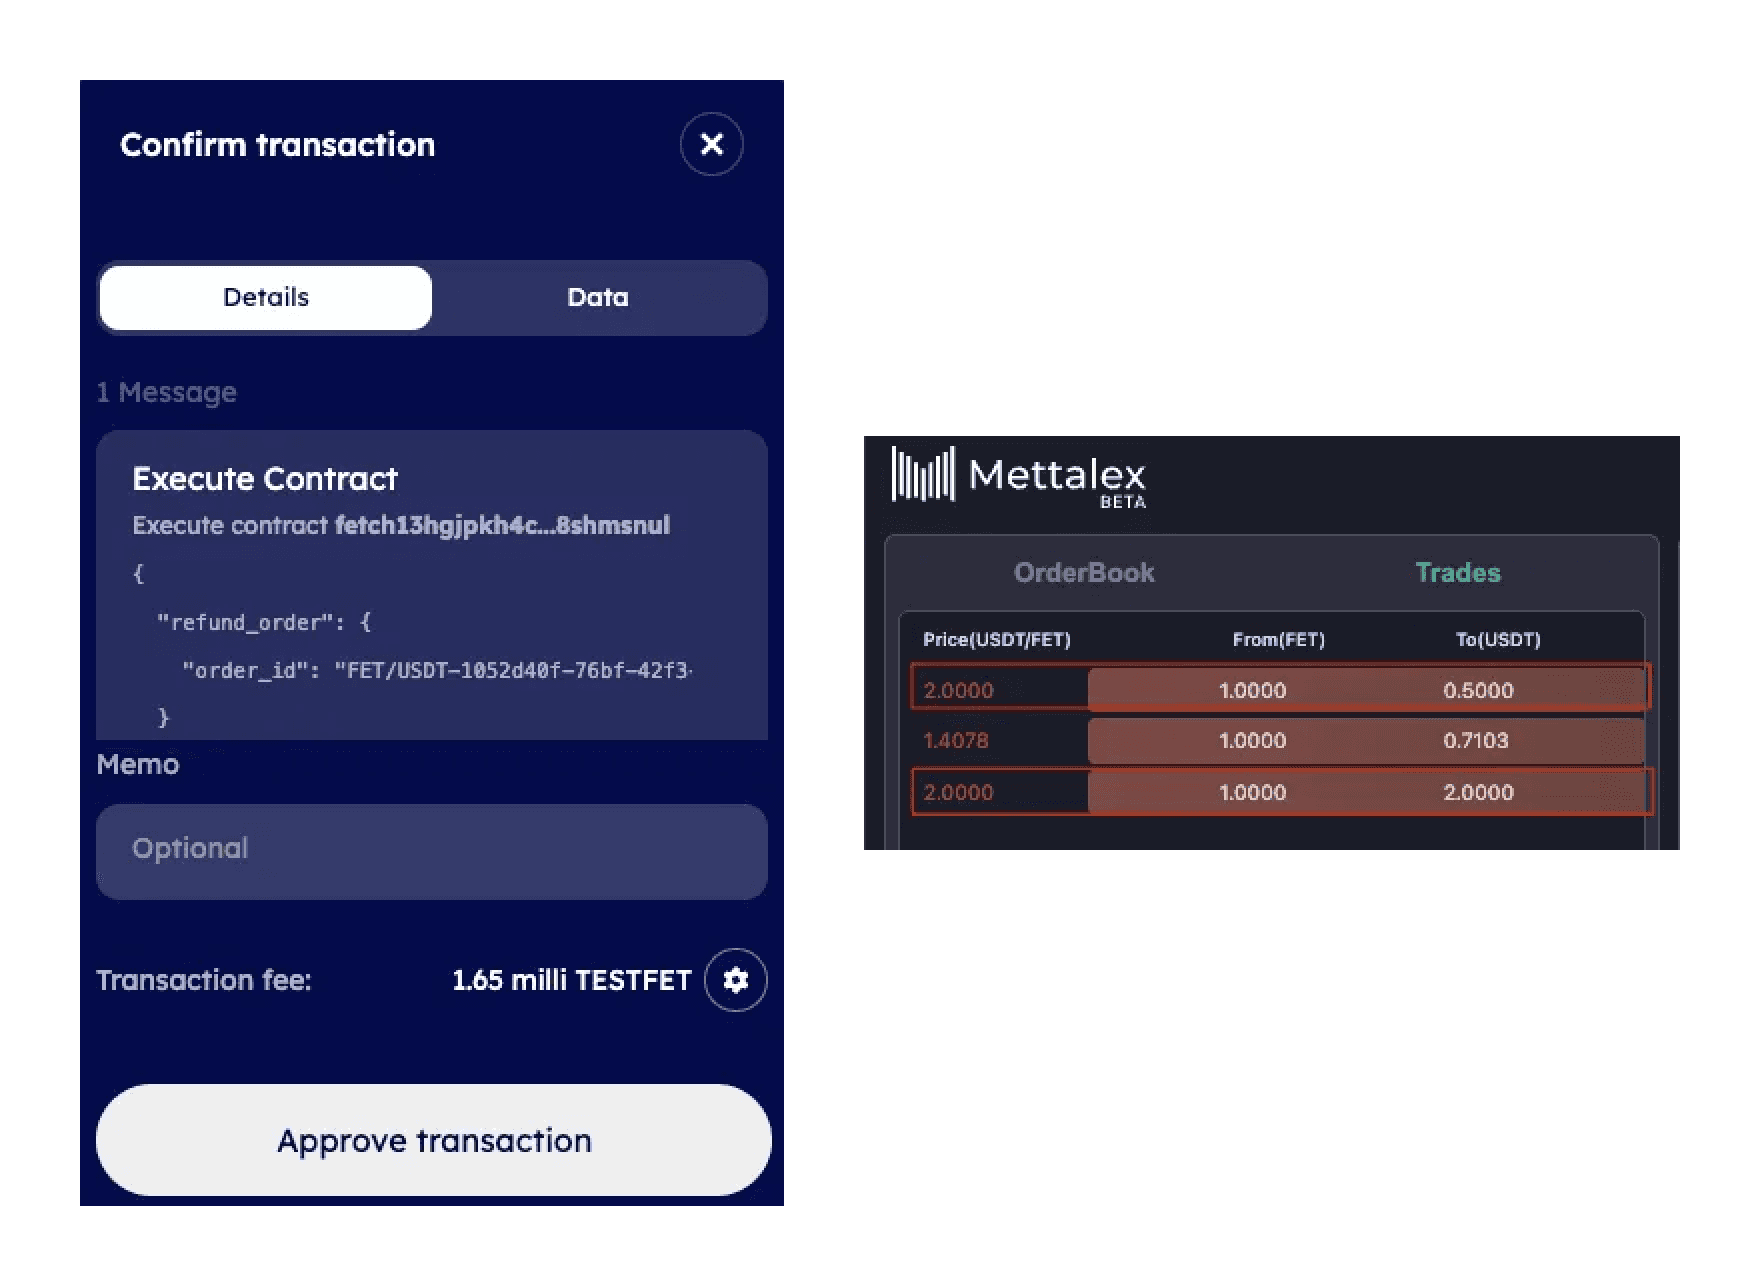
Completing Your Trade
When a suitable matching trade is found, it is executed, and funds are directly exchanged between parties/peers. In the Agent Network, an arrow will indicate that the trade has been executed between agents, signifying the successful exchange of funds. Once the trade is completed, you will see the updated asset balances in the trades section, reflecting the successful transaction.
Review Transactions and Orders:
You can access detailed information about your transactions in the 'Transaction Logs' and keep track of your orders in the 'Order Log.' Within the Transaction Logs, you will find entries for both 'Create' and 'Transfer' logs. For additional details, simply expand the transfer log entry to view comprehensive information about each transaction that has occurred.
Congratulations! You have successfully set up your platform environment and executed your trade.
Feedback and Support
Feedback Form: If you encounter any issues or have suggestions for improvement, please use the feedback form available on our platform. Your insights are invaluable and help us enhance the user experience.
Support: For any additional support or queries, feel free to reach out through the following channels:
Discord: Connect with us in our dedicated Mettalex Discord channel under “Public-beta.”
Telegram: Join our official Telegram group at https://t.me/mettalex_official.
Email: Contact us at info@mettalex.com with the subject line “Mettalex Public Beta.”
Share your experience:
Loving the product? Share your thoughts on X to let others know! Simply click the Share on X button at the bottom right of the platform. Your feedback inspires us and helps spread the word!
Thank you for participating in the Mettalex public beta. Your contributions are crucial to our ongoing development and help us build Agentic based DeFi trading.

